

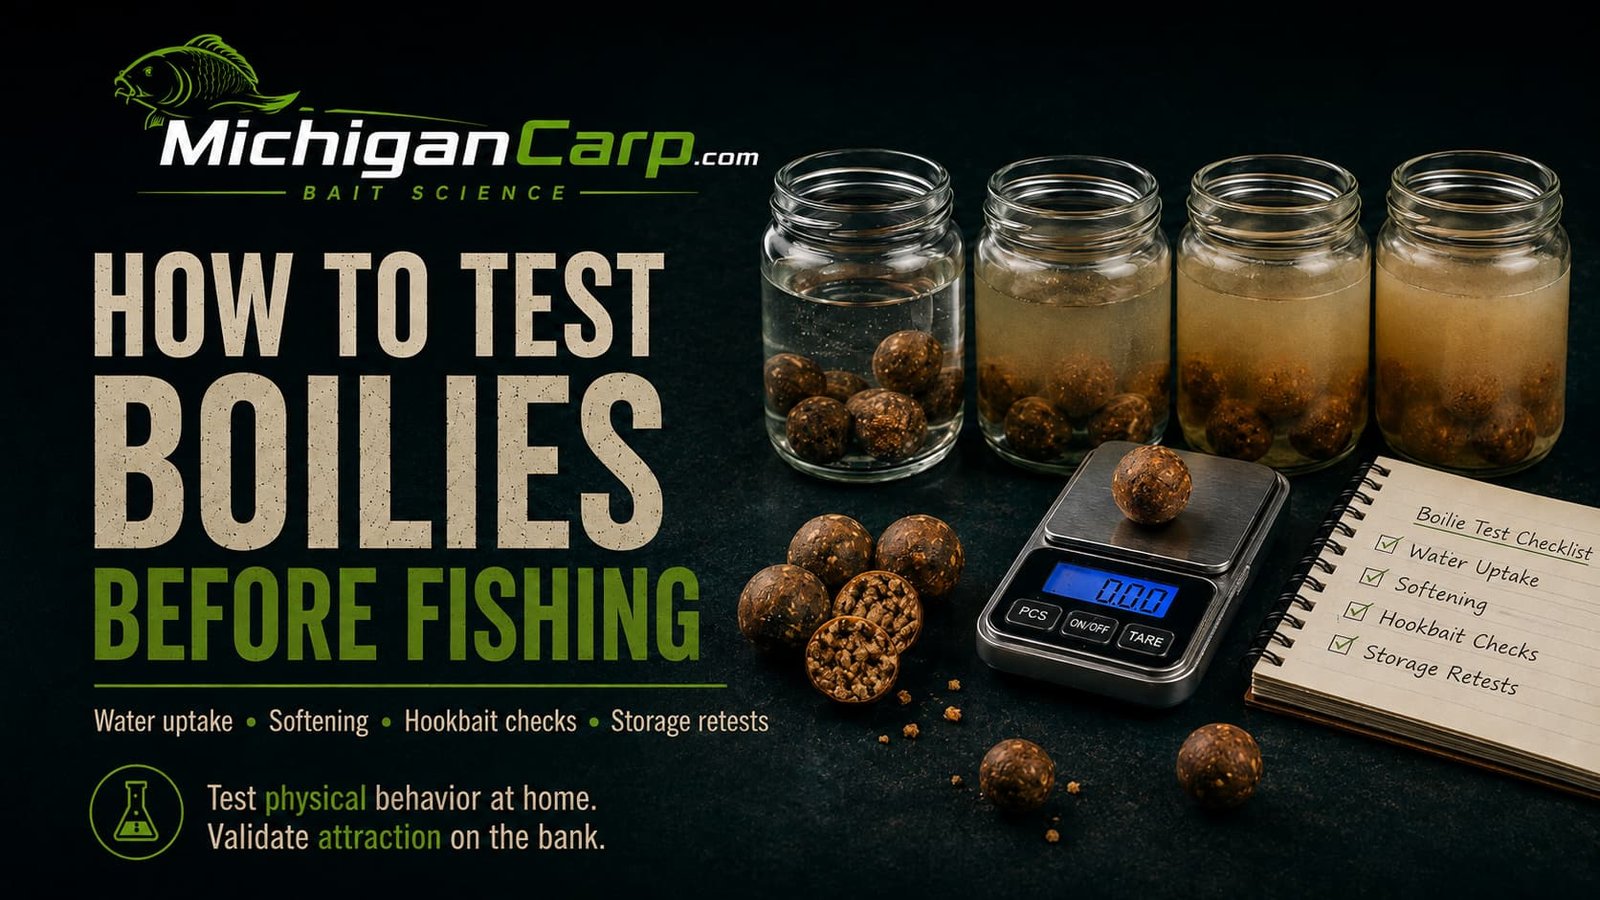
Learning how to test boilies before fishing is one of the most useful habits a homemade bait maker can develop.
It is also one of the easiest things to misunderstand.
A boilie in a glass of water can tell you something about physical bait behaviour. It can show water uptake, softening, swelling, cracking, crumb release, clouding, erosion, hookbait durability and batch consistency.
It cannot prove that carp will prefer the bait.
That difference matters.
Test physical behaviour at home. Test fish response at the lake. Do not confuse the two.
The best home test is not a performance video. It is a controlled comparison. Instead of asking, “Does this boilie look active?” ask, “How does this bait behave compared with another bait when I keep the important test conditions the same?”
This guide explains how to inspect new boilies, compare cooking and drying treatments, measure water uptake, test glugged bait, check hookbait durability, test wafters and pop-ups on the actual rig, and retest bait after storage.
For the underlying release science, read Carp Bait Solubility and Leakage. For why one bait releases faster than another, read Why Some Carp Baits Leak Faster Than Others. For whole boilies, chops, crumb, dust and paste, read Why Surface Area Matters in Carp Bait.
This article also connects with Solubility vs Nutrition in Carp Bait, What Boiling Does to Carp Bait, Water Activity in Boilies, How to Prepare Boilies for Carp Fishing, How to Make Wafters and Pop-Ups From a Boilie Base Mix and the main Bait Science hub.
For external technical background, see OpenStax: The Dissolution Process, OpenStax: Factors Affecting Reaction Rates and UF/IFAS: A Review of Feed Attractants as a Guide for Aquaculture Operations.
Table of Contents
Quick Start: How to Test Boilies Before Fishing
The best way to test boilies before fishing is to compare several samples under consistent conditions and record what physically changes over time.
Use identical containers, equal water volumes, the same water source, the same starting temperature, equal bait weights or equal bait counts, and fixed observation times.
| Test step | What it tells you | What it cannot prove |
|---|---|---|
| Dry inspection | Batch consistency, cracking, surface condition and obvious defects | Whether carp will prefer the bait |
| Cut test | Internal structure, voids, wet centers, coarse ingredient spread and core condition | Which soluble compounds are being released |
| Water uptake | Relative hydration rate under controlled conditions | That highest water uptake is automatically best |
| Softening check | Surface softness, core softness and structural change | That softness equals attraction |
| Visible release | Clouding, crumb, oil droplets, erosion and particle movement | That clouding equals chemical attraction |
| Hookbait rig test | Hair hold, bait-screw security, buoyancy, balance and durability | That the bait will catch without location and presentation |
| Storage retest | Whether freezing, drying, shelf storage or glugging changed the bait | That stored bait is automatically safe or attractive |
The main rule is simple:
A useful boilie test should answer a specific question. Do not stare at one bait in a jar and invent a story about what carp will think.
What a Home Boilie Test Can and Cannot Tell You
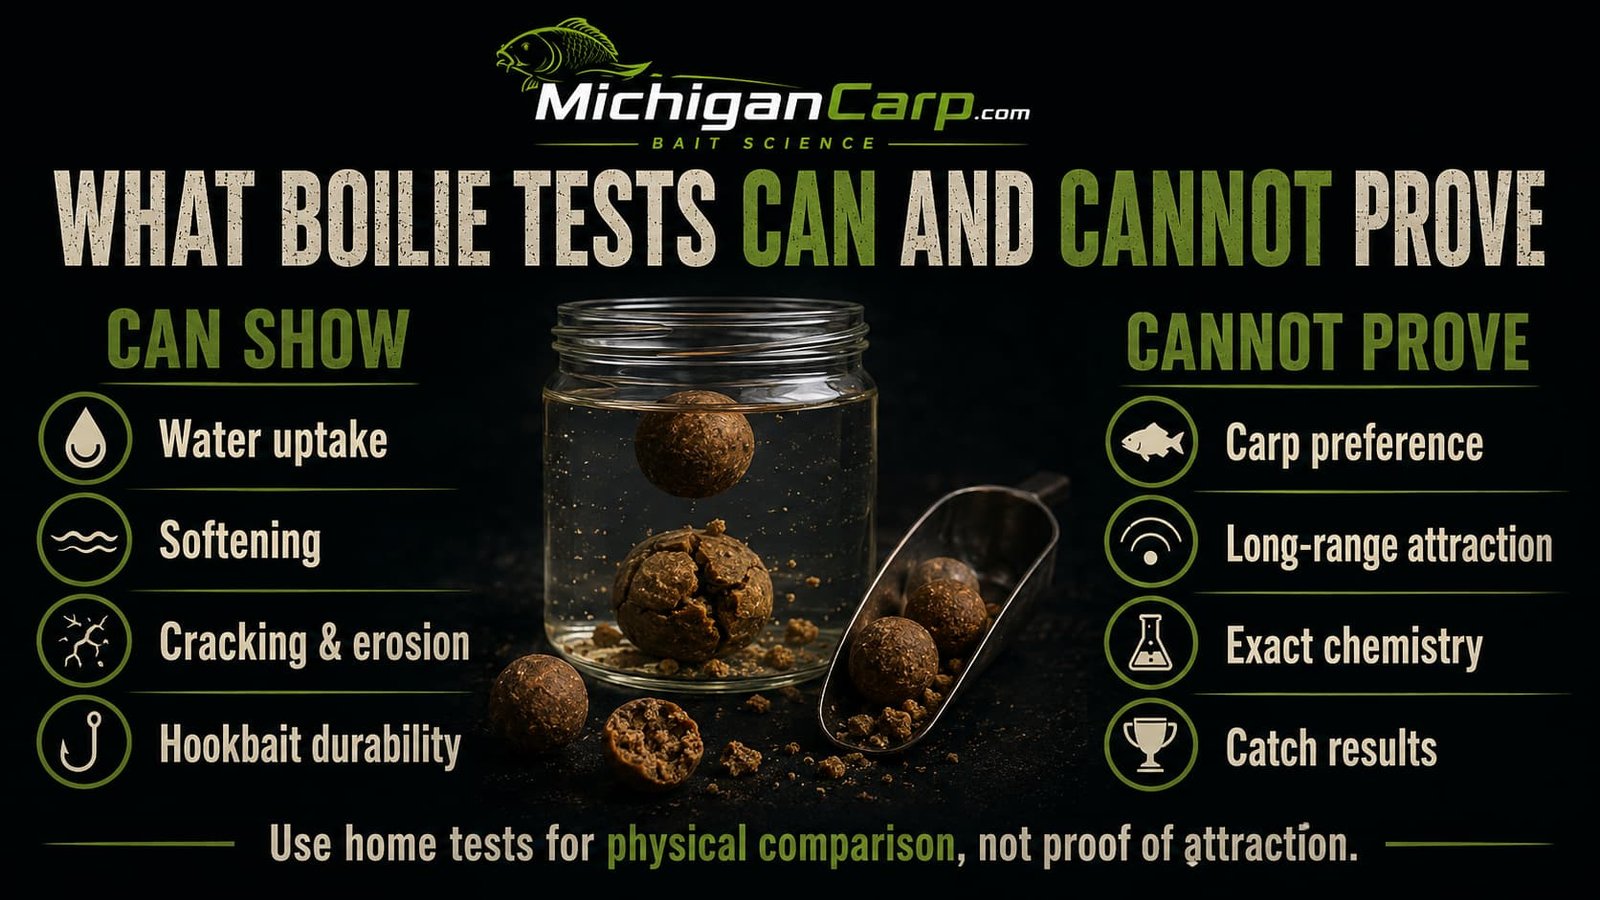
A home water test is useful when it is treated as a physical comparison.
It can show whether one bait hydrates faster than another. It can show whether a longer drying period made the bait harder to rehydrate. It can show whether a glug changed surface condition. It can show whether the hookbait survives the intended fishing time.
It cannot show whether carp prefer the bait. It cannot identify every dissolved compound leaving the bait. It cannot prove how far the signal travels in a lake, river, channel or dam pond. It cannot prove that visible clouding is attraction. It cannot replace fishing records.
| A fair home test can show | A home test cannot prove |
|---|---|
| Relative water uptake | Carp preference |
| Surface and core softening | Long-range attraction |
| Cracking, erosion and collapse | Which amino acids, peptides or other compounds are leaving |
| Differences caused by cooking or drying | How the bait behaves in current, undertow or wave action |
| Hookbait durability on the rig | Whether a bait will catch without fish location |
| Changes after storage or treatment | That a visible cloud is chemically meaningful |
That does not make jar testing useless. It makes interpretation important.
Build a Simple Boilie Testing Kit
You do not need laboratory equipment to test boilies sensibly.
A useful home kit can be simple: identical clear containers, labels, a timer, notebook or spreadsheet, paper towels, a digital scale, a sharp knife, calipers if you want diameter measurements, and the actual rig components you use for hookbait testing.
The key is consistency.
| Item | Why it helps |
|---|---|
| Identical jars or tubs | Keeps water volume and observation conditions consistent |
| Digital scale | Allows water uptake comparisons |
| Paper towels | Allows consistent blotting before weighing |
| Labels or marker | Prevents sample confusion |
| Timer | Keeps observation points consistent |
| Sharp knife | Allows clean cut sections before and after soaking |
| Actual rig components | Lets you test hookbaits as they will actually be fished |
| Notebook or spreadsheet | Turns observations into usable bait-development records |
If your scale is not sensitive enough for one boilie, weigh several identical baits together. The combined weight change of five boilies is usually easier to record consistently than the tiny change in one bait.
Start With Dry Inspection and Cut Tests
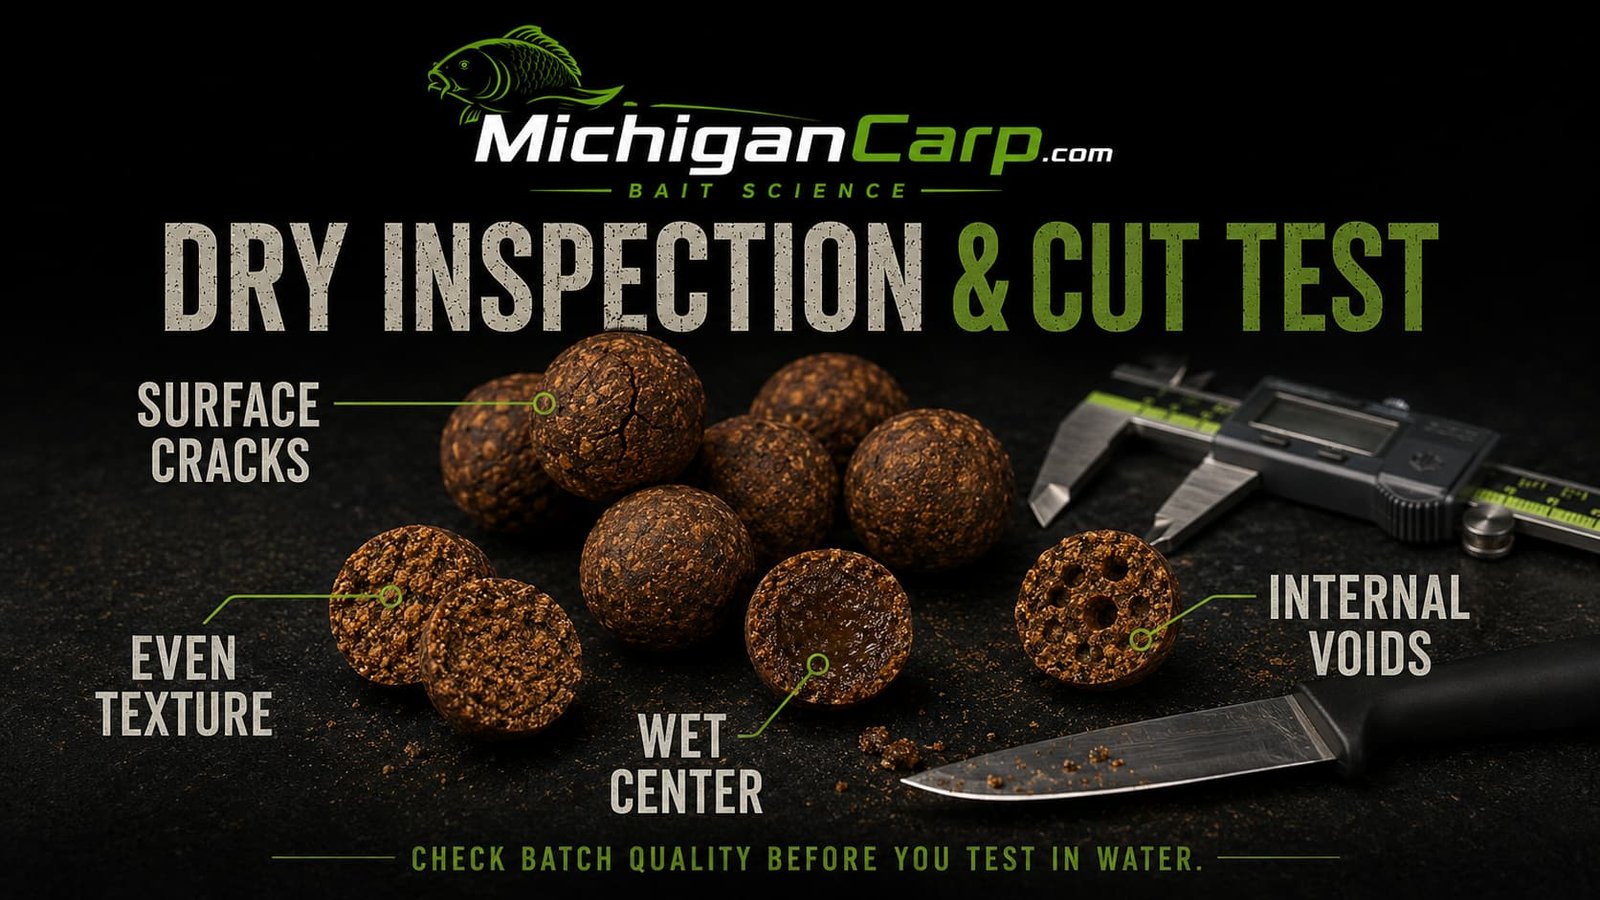
Start with the bait exactly as it will be stored or taken fishing.
Inspect several boilies from different parts of the batch, not just the best-looking bait on the tray. Check diameter consistency, surface cracking, flat spots, uneven drying, oil or moisture migration, discoloration, abnormal smell, mold and obvious defects.
Then cut several baits cleanly through the center.
The cut test can reveal wet centers, hollow areas, dry crumbly cores, large ingredient clumps, uneven cooking, poor mixing and differences between the outer region and the core.
| Dry/cut observation | Possible meaning |
|---|---|
| Many cracked baits | Drying, binding, rolling or cooking issue |
| Wet center | Under-processing, poor drying or overly dense core |
| Large internal voids | Rolling or paste consistency issue |
| Very crumbly core | Dry mix, binder or hydration issue |
| Uneven coarse ingredient distribution | Mixing or particle-size issue |
| Oil or moisture migration | Formula, drying, storage or treatment issue |
This first stage is quality control. Do not try to judge attraction by smelling the bait in your hand.
Set Up a Controlled Water Test
The best water test is boringly consistent.
Use equal bait weights or equal numbers of identical-size boilies. Use identical containers. Use the same water source. Use equal water volume. Start at the same temperature. Keep samples still unless movement is the variable you are testing. Observe at the same time points.
The purpose is not to reproduce every condition in Lake Michigan, Houghton Lake or Loud Dam Pond inside a glass jar. The purpose is to make the comparison fair.
| Variable | Keep consistent unless testing it |
|---|---|
| Bait weight | Use equal dry mass or equal sample count |
| Water volume | Use the same amount in each container |
| Water source | Use the same source for all samples |
| Temperature | Start samples at the same temperature |
| Container shape | Use identical jars or tubs |
| Handling | Do not squeeze one sample repeatedly and leave another untouched |
| Observation times | Check each sample on the same schedule |
If one jar is warm and stirred regularly while another is cool and untouched, the comparison is weak.
Choose Test Times That Match the Session
There is no universal best test length.
Choose time points according to the fishing question. A two-hour spring trap does not need the same test as an overnight hookbait or a 48-hour long-life bait.
| Test time | Useful for | What to observe |
|---|---|---|
| 30 minutes | Very short traps and first-contact behaviour | Surface wetting, early clouding, initial crumb release |
| 1 hour | Short-session bait activity | Early hydration, surface softness, visible release |
| 4 hours | Day-session durability | Softening, cracking, erosion and bait condition |
| 8 hours | Evening-to-morning checks | Hookbait survival, core softening, hair-hole condition |
| 12 hours | Overnight fishing | Rig presentation, bait strength and breakdown |
| 24 hours | Longer soak or freebait persistence | Physical persistence and structural change |
| 48 hours+ | Specialist long-life hookbait checks | Long-term durability, buoyancy and attachment security |
For more controlled testing, prepare separate samples for destructive checks. One jar can be opened and handled at four hours while another remains untouched until 12 or 24 hours.
Measure Water Uptake Without Overcomplicating It
[IMAGE PLACEMENT: BOILIE WATER UPTAKE TEST — boilie-water-uptake-test.png]
Alt text: Boilie water uptake test showing dry weight, timed soak, consistent blotting, wet weight and percentage water uptake calculation.
Water uptake is one of the most useful measurable comparisons available to a home bait maker.
Record the starting mass. Soak the bait for a defined time. Remove it with the same method each time. Blot the surface consistently. Weigh immediately. Record the result.
The simple calculation is:
Water uptake (%) = ((wet mass - starting mass) / starting mass) x 100The number is useful only in context.
A bait designed for a short spring session and a durable 24-hour hookbait do not need the same water uptake curve. A higher number is not automatically better. It means the bait took on more water under those test conditions.
| Result | Possible interpretation | What to check next |
|---|---|---|
| Fast water uptake | Open structure, lighter drying or easier water access | Durability, cracking and hookbait strength |
| Slow water uptake | Dense structure, heavier drying or stronger outer region | Whether release is too slow for the session |
| High swelling | Hydrating starch, binder or fibre effect | Rig presentation and bait size change |
| Cracking after uptake | Internal stress, drying issue or weak structure | Cooking, binder and drying process |
| Little uptake but heavy clouding | Surface erosion or particle release without deep hydration | Core condition and actual bait durability |
Standardized blotting matters. A bait weighed dripping from the jar cannot be fairly compared with a bait carefully dried with paper towel.
Record Softening, Erosion and Breakdown Separately
A boilie can soften without falling apart. Another bait can keep a firm core while the outer surface erodes. Another can split, crack or collapse even though it looked strong when dry.
Do not record all of those as “soft.”
| Observation | What to record |
|---|---|
| Surface softness | How easily the outside yields compared with the dry bait |
| Core softness | How the center feels after cutting the soaked bait |
| Swelling | Visible or measured diameter change |
| Cracking | None, slight, moderate or major |
| Erosion | Surface material gradually leaving the bait |
| Fragmentation | Pieces breaking away from the bait |
| Collapse | Complete structural failure |
This gives you much better information than writing “bait soft at eight hours.”
Interpret Visible Clouding Carefully
Visible release is useful to observe, but easy to overinterpret.
You may see fine particles, crumbs, colour movement, surface erosion, oil droplets, sediment, suspended material or cloudy water. Those are real observations. They are not automatically proof of attraction.
| What you see | What it may mean | What not to claim |
|---|---|---|
| Strong cloud | Fine particles or dissolved/dispersed material entered the water | That carp will prefer it |
| Oil droplets | Lipid material is separating or moving differently from water-soluble material | That oil is acting like amino acids or sugars |
| Crumb on bottom | Physical food particles have left the bait | That all released material is dissolved |
| Clear water | Little visible movement | That nothing invisible is being released |
| Colour wash | Pigments or coloured material are moving | That useful food signal is high |
Some useful dissolved compounds may be invisible. Some dramatic visible clouding may be mostly insoluble suspended material.
For the full distinction between dissolution, diffusion, dispersion and physical breakdown, use Carp Bait Solubility and Leakage.
Compare Whole Boilies, Chops and Crumb
[IMAGE PLACEMENT: WHOLE CHOPS CRUMB BOILIE TEST — whole-chops-crumb-boilie-test.png]
Alt text: Whole boilies, chopped boilies and crumb tested side by side in equal water volumes to compare surface area, particle release and physical persistence.
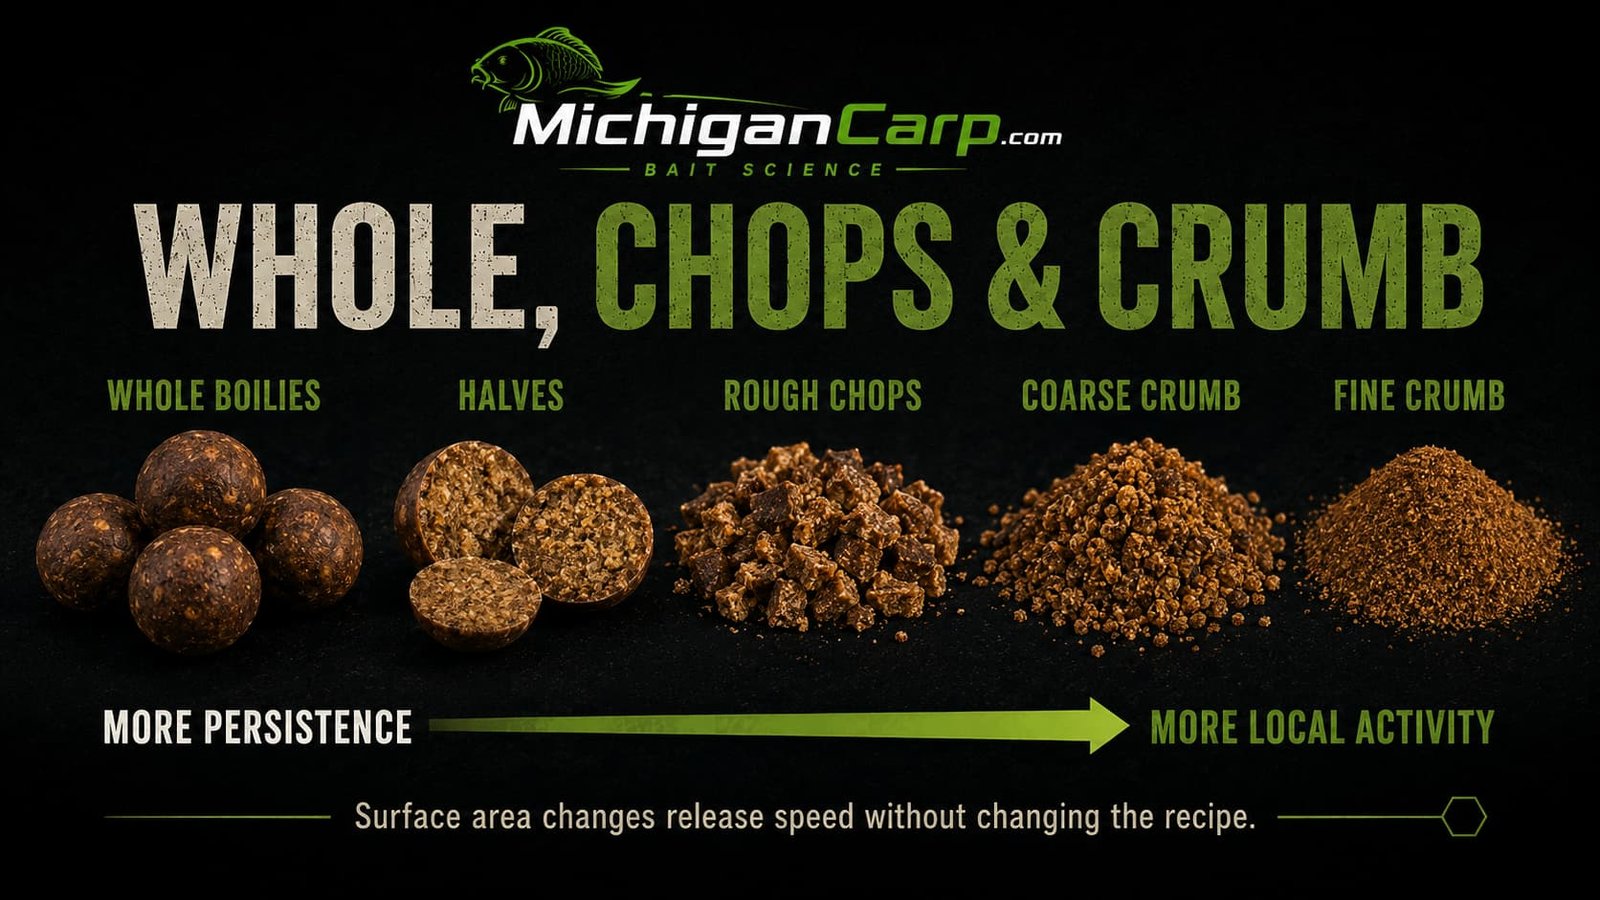
When you are developing a baiting system rather than only a single boilie, test the same bait in different physical forms.
Use equal dry weights of whole boilies, halves, rough chops, coarse crumb and fine crumb. Keep the water volume, container, temperature and observation times identical.
| Format | What the test may show | Fishing use |
|---|---|---|
| Whole boilies | Durability, slower hydration and longer physical persistence | Longer sessions, selectivity and freebait presence |
| Halves | Interior exposure with much of the bait still intact | Simple activity increase without full crumb |
| Rough chops | Irregular surfaces and mixed breakdown speed | Rig-area feeding and mixed-format beds |
| Coarse crumb | Faster activity with recognisable food particles | PVA, method, packbait and short-session zones |
| Fine crumb | Very fast surface activity and dispersion | Powder coating, small traps and fast local signal |
This is one of the simplest ways to see how surface area changes timing without changing the recipe.
Test Cooking, Drying and Glugging One Variable at a Time
If you change five things at once, you may see a difference but not understand why it happened.
A cleaner approach is to test one variable at a time.
| Test | How to set it up | What it can show |
|---|---|---|
| Cooking time | Same paste, same diameter, different cook times | Firmness, outer structure, water uptake and softening differences |
| Drying time | Same cooked batch divided into short-, medium- and longer-dried samples | Starting hardness, rehydration, cracking and persistence |
| Boiled vs steamed | Same paste and diameter, different heat method | Processing effect on structure and water behaviour |
| Treated vs untreated | Same batch, one sample glugged or conditioned, one left plain | Surface condition, weight gain, softening and visible release |
| Diameter comparison | Same recipe and processing, different bait size | Surface-area effect, hydration timing and physical persistence |
For cooking and heat effects, read What Boiling Does to Carp Bait. For water activity, drying and storage logic, read Water Activity in Boilies.
Glugging deserves its own comparison. A glugged bait may smell stronger, but it may also become sticky, heavy, softer, slower to take on water, or weaker around the hair hole. Compare treated bait with untreated bait from the same production batch.
For glug, soak and hookbait-conditioning logic, read How to Prepare Boilies for Carp Fishing.
Test Hookbaits on the Actual Rig
[IMAGE PLACEMENT: HOOKBAIT RIG DURABILITY TEST — hookbait-rig-durability-test.png]
Alt text: Hookbait rig durability test showing a boilie mounted on a hair rig, bait screw and wafter rig after timed soaking to check attachment, softness and buoyancy.
A hookbait test should not stop at the jar.
Mount the bait exactly as it will be fished. Use the actual hook, hair, bait stop, bait screw, floss, rig ring, swivel, putty and pop-up or wafter arrangement.
| Hookbait check | Why it matters |
|---|---|
| Bait-stop security | The bait must remain attached after casting and soaking |
| Hair-hole condition | Softening around the hole can cause failure |
| Bait-screw hold | Some baits split or loosen after soaking |
| Surface softness | Too much softening may affect nuisance resistance |
| Rig presentation | The bait must still sit correctly after the intended soak time |
| Buoyancy | Wafters and pop-ups can change as they absorb water |
| Hookbait durability | Long-session baits must survive the real fishing window |
This is especially important for large 20 mm and 24 mm baits, snowman presentations, wafters, pop-ups, drilled tiger nuts, balanced hookbaits and overnight fishing.
A wafter does not need to pass a theoretical buoyancy test by itself. It needs to behave correctly as part of the rig system.
Retest Bait After Storage
Testing immediately after production is not enough for bait that will be stored.
Retest after freezing, thawing, extended drying, shelf-life storage, glugging, hookbait conditioning or long session-pack storage.
| Stored-bait check | What to compare with the original test |
|---|---|
| Weight | Moisture loss or liquid uptake |
| Hardness | Drying, storage or conditioning change |
| Odor | Unexpected spoilage, rancidity or fermentation shift |
| Surface oil or stickiness | Oil migration or liquid-treatment effect |
| Water uptake | Whether storage changed rehydration |
| Softening | Whether the bait still matches the session |
| Buoyancy | Whether wafters or pop-ups still behave correctly |
| Visible mold or spoilage | Whether the bait should be rejected rather than fished |
For freezer, drying and shelf-life decisions, use Water Activity in Boilies and Potassium Sorbate, Sodium Benzoate and Citric Acid in Shelf-Life Boilies.
Use a Simple Boilie Test Scorecard
[IMAGE PLACEMENT: BOILIE TEST SCORECARD — boilie-test-scorecard.png]
Alt text: Simple boilie test scorecard showing dry consistency, internal structure, water uptake, softening, cracking, erosion, hookbait durability and storage retest.
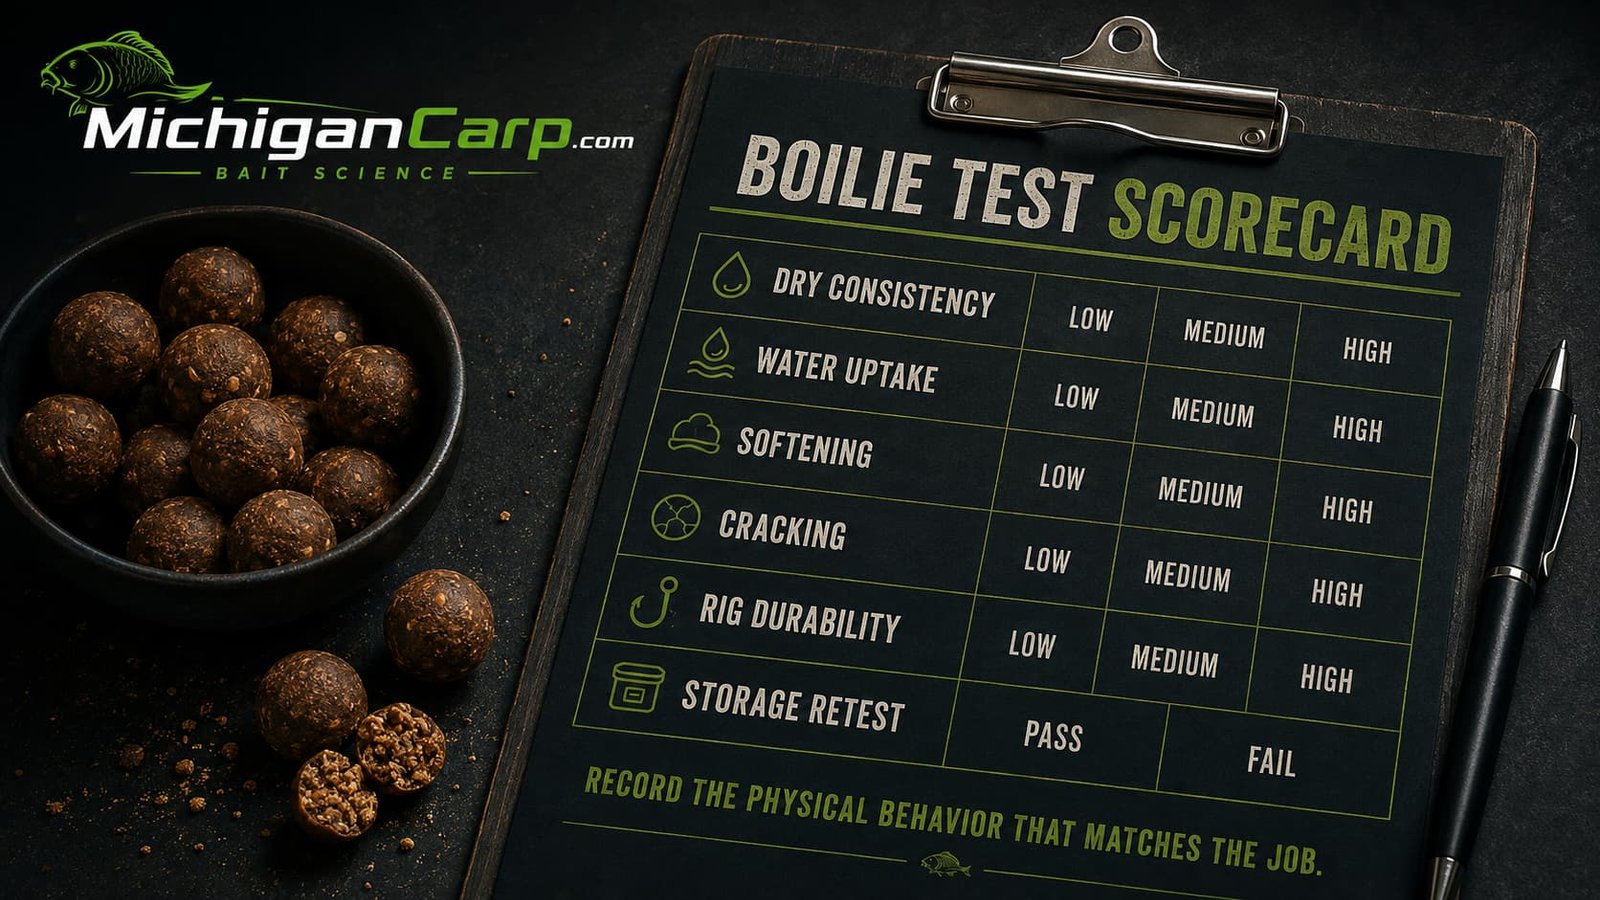
You do not need a complicated scientific scoring system. A consistent simple scorecard is enough.
| Property | Record | Why it matters |
|---|---|---|
| Dry consistency | Uniform / variable | Shows batch quality |
| Internal structure | Even / mixed / voids / wet center | Shows production and matrix issues |
| Water uptake | Measured percentage or relative comparison | Shows hydration tendency |
| Surface softening | Low / moderate / high | Shows early water effect |
| Core softening | Low / moderate / high | Shows deeper hydration |
| Cracking | None / slight / major | Shows structural weakness or drying stress |
| Physical erosion | Low / moderate / high | Shows particle loss and persistence |
| Visible release | Low / moderate / high, with description | Shows physical activity, not proof of attraction |
| Rig durability | Pass / marginal / fail | Shows whether the hookbait still fishes correctly |
| Suitable session length | Short / overnight / multi-day / hookbait only | Connects the test to real fishing use |
The scorecard does not declare a bait attractive. It tells you whether the physical behaviour matches the job you designed it for.
Four Useful Boilie Test Programs
Most testing can be organized into four simple programs.
| Program | Use it when | Core checks |
|---|---|---|
| New recipe baseline | You have made a new bait or changed the formula | Dry inspection, cut test, water uptake, softening, cracking, 4-hour, 8-hour and 24-hour condition |
| Hookbait test | The bait must stay on the rig and fish for a defined time | Attachment, hair hole, bait screw, buoyancy, balance, softening and intended soak time |
| Process comparison | You changed cooking, steaming, drying, diameter or treatment | One-variable side-by-side comparison under identical water conditions |
| Storage retest | The bait has been frozen, dried, stored, glugged or conditioned | Weight, hardness, surface condition, water uptake, softening, odor, mold and rig behaviour |
This keeps testing practical. You do not need to run every test on every bait. You need to choose the test that answers the question in front of you.
Michigan Seasonal Testing Notes
For Michigan carp fishing, I would match the test to the season and session style.
| Situation | Testing priority |
|---|---|
| Spring short session | Early hydration, small active crumb, chops, low bait quantity and hookbait durability for the bite window |
| Summer overnight | 8- to 12-hour hookbait survival, softening, glugged vs untreated bait and nuisance resistance |
| Three- to five-day session | Whole bait, chops, crumb, particles and hookbaits tested as separate layers |
| Fall food-bait approach | Digestible bait with enough activity, tested again in cooler water |
| Crayfish or nuisance pressure | Hookbait durability, hair-hole strength and physical persistence |
The bait system does not need every component to behave identically. That is the point of testing. Whole boilies, crumb, chops, particles and hookbaits can all have different jobs.
Common Boilie Testing Mistakes
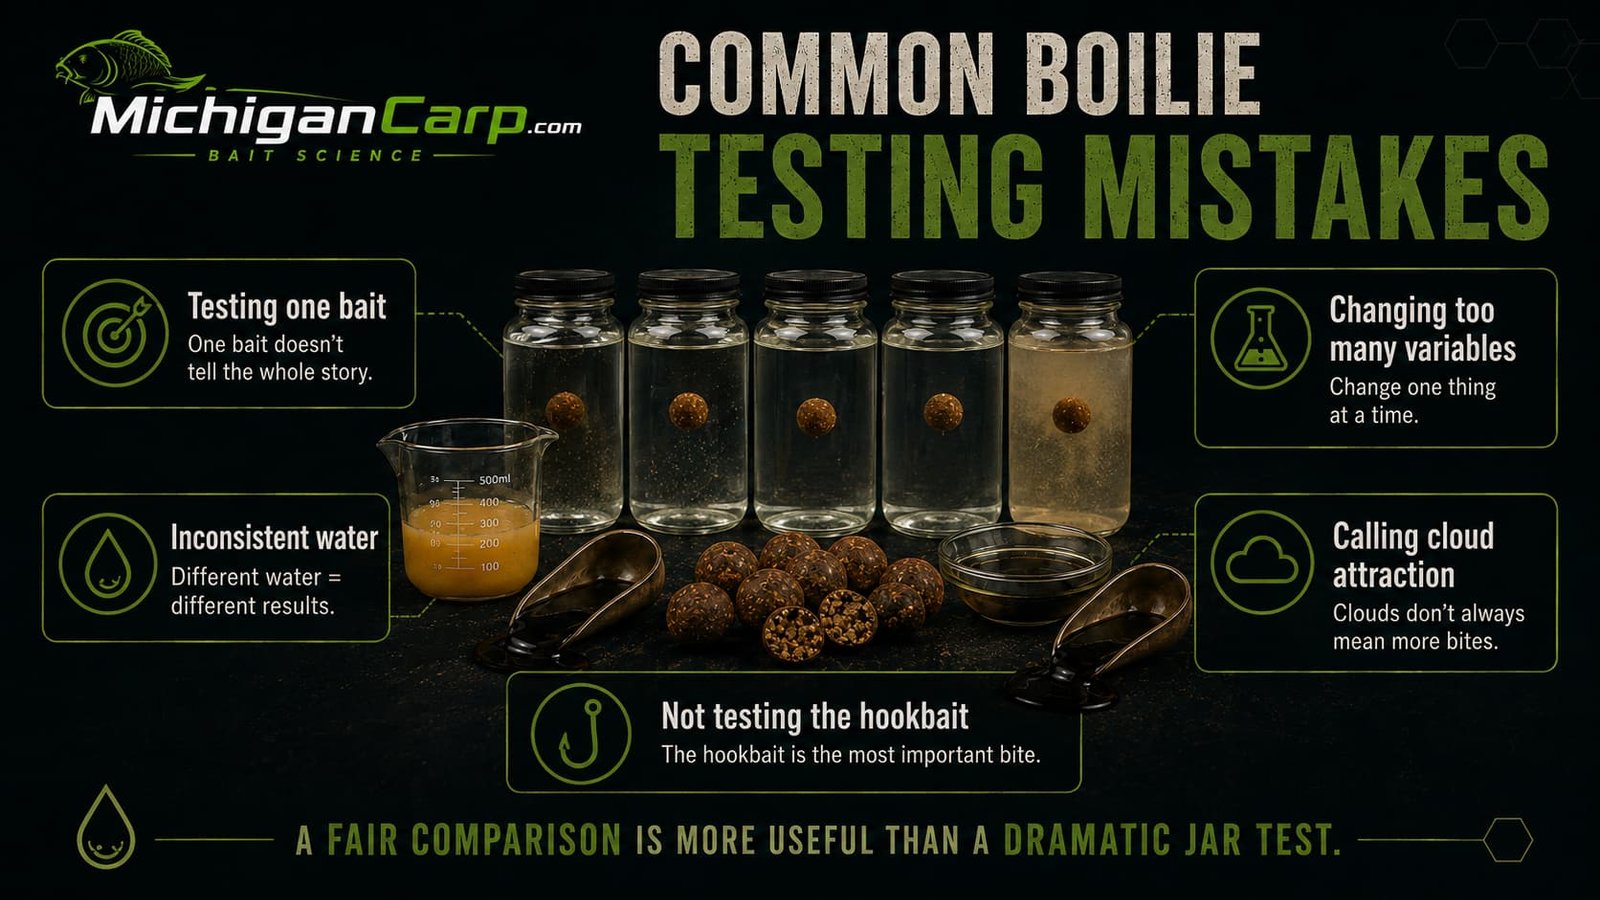
| Mistake | Why it causes problems | Better practice |
|---|---|---|
| Testing one boilie | One bait cannot represent the batch | Use several samples from different parts of the batch |
| Changing several variables together | You may see a difference but not know the cause | Change one main variable at a time |
| Using inconsistent water conditions | The comparison becomes weak | Keep water, volume, temperature and containers consistent |
| Handling one sample repeatedly | You may cause the breakdown you are recording | Use separate samples for destructive checks |
| Calling visible cloud attraction | Clouding does not prove carp response | Record clouding as visible release only |
| Assuming maximum water uptake is best | The bait has to match the job | Compare uptake against session length and durability needs |
| Testing freebait but not the hookbait | The hookbait has a separate mechanical job | Test the hookbait on the actual rig |
| Ignoring storage | Stored bait may not behave like fresh bait | Retest after freezing, drying, shelf storage or glugging |
| Using a 24-hour test for a two-hour problem | The test does not match the fishing question | Choose test times based on the session |
Simple Rules for Testing Boilies Before Fishing
Start with a clear question. Use several boilies from the batch. Keep comparison conditions consistent. Record starting weight where useful. Separate hydration, softening, erosion and structural failure.
Do not confuse visible clouding with dissolved food signal. Do not change several variables at once. Test the hookbait on the actual rig. Match test time to session length. Retest after storage or treatment.
Use home tests for comparison, not proof of attraction.
My Practical View
Testing boilies before fishing is valuable when the test is designed to answer a realistic question.
A home test can show how consistently the bait was made, how it takes on water, how it softens, whether it cracks or collapses, how storage changes it, and whether the hookbait remains mechanically usable.
It cannot prove that the bait is attractive simply because the water changes colour or particles appear around the bait.
For my own bait development, I would rather have ten simple repeatable comparisons than one spectacular-looking jar test.
Ask a question. Control the comparison. Measure what you can. Record what you observe. Then validate the finished system by fishing it.
FAQ
How long should I test boilies in water?
Match the test to the intended fishing period. A short-session bait may need 30-minute, one-hour and four-hour checks. A long-life hookbait may justify eight-, 12-, 24- or 48-hour testing.
How many boilies should I test?
Use several samples from different parts of the batch. Testing only one bait cannot show whether the batch was consistent.
Can a bucket test show whether carp will like the bait?
No. A bucket or jar test can compare physical behaviour such as hydration, softening and breakdown, but carp response has to be validated by fishing or proper controlled feeding work.
Does cloudy water mean the boilie is attractive?
No. Clouding shows that visible material has entered or moved through the water. It does not identify dissolved compounds or prove carp attraction.
How do I measure water uptake?
Record starting mass, soak the bait for a defined time, blot the surface consistently and reweigh. Then compare samples using the same procedure.
Should a good boilie become soft in water?
The correct degree of softening depends on the bait’s job. A short-session freebait and a long-life hookbait do not need identical durability.
Should boilies crack during a water test?
Major cracking may indicate a formulation, rolling, cooking or drying issue. Small surface changes should be judged in context and compared across several samples.
Can I compare boilies of different sizes?
Yes, but remember that diameter changes surface-area-to-mass ratio and internal movement distance. Keep recipe and processing as consistent as possible.
Should glugged boilies be tested separately?
Yes. Glugs and conditioners can change weight, moisture, surface condition, softening and rig durability. Compare treated bait with an untreated control from the same batch.
How do I test a pop-up or wafter?
Test it on the actual hook and rig components over the intended fishing time. Observe buoyancy, balance, attachment strength and presentation.
Should stored boilies be retested?
Yes. Retesting is useful after freezing, extended drying, shelf storage, glugging or long conditioning treatments.
What is the most important boilie-testing rule?
Use controlled comparisons to answer specific questions. Do not use a home water test as proof that carp will prefer the bait.
Next Steps
- Carp Bait Solubility and Leakage — understand water entry, dissolution, diffusion and bait release.
- Why Some Carp Baits Leak Faster Than Others — understand practical leakage-rate controls.
- Why Surface Area Matters in Carp Bait — compare whole boilies, chops, crumb, dust and paste.
- Solubility vs Nutrition in Carp Bait — balance fast signal with real food value.
- How to Prepare Boilies for Carp Fishing — test glugs, soaks and hookbait conditioning.
- How to Make Wafters and Pop-Ups From a Boilie Base Mix — test buoyancy and balance over time.
- What Boiling Does to Carp Bait — understand cooking, steaming, structure and release.
- Water Activity in Boilies — connect drying, storage and available water.
- Carp Bait Digestibility — separate physical tests from usable food value.
- Bait Science — browse the technical bait library.