
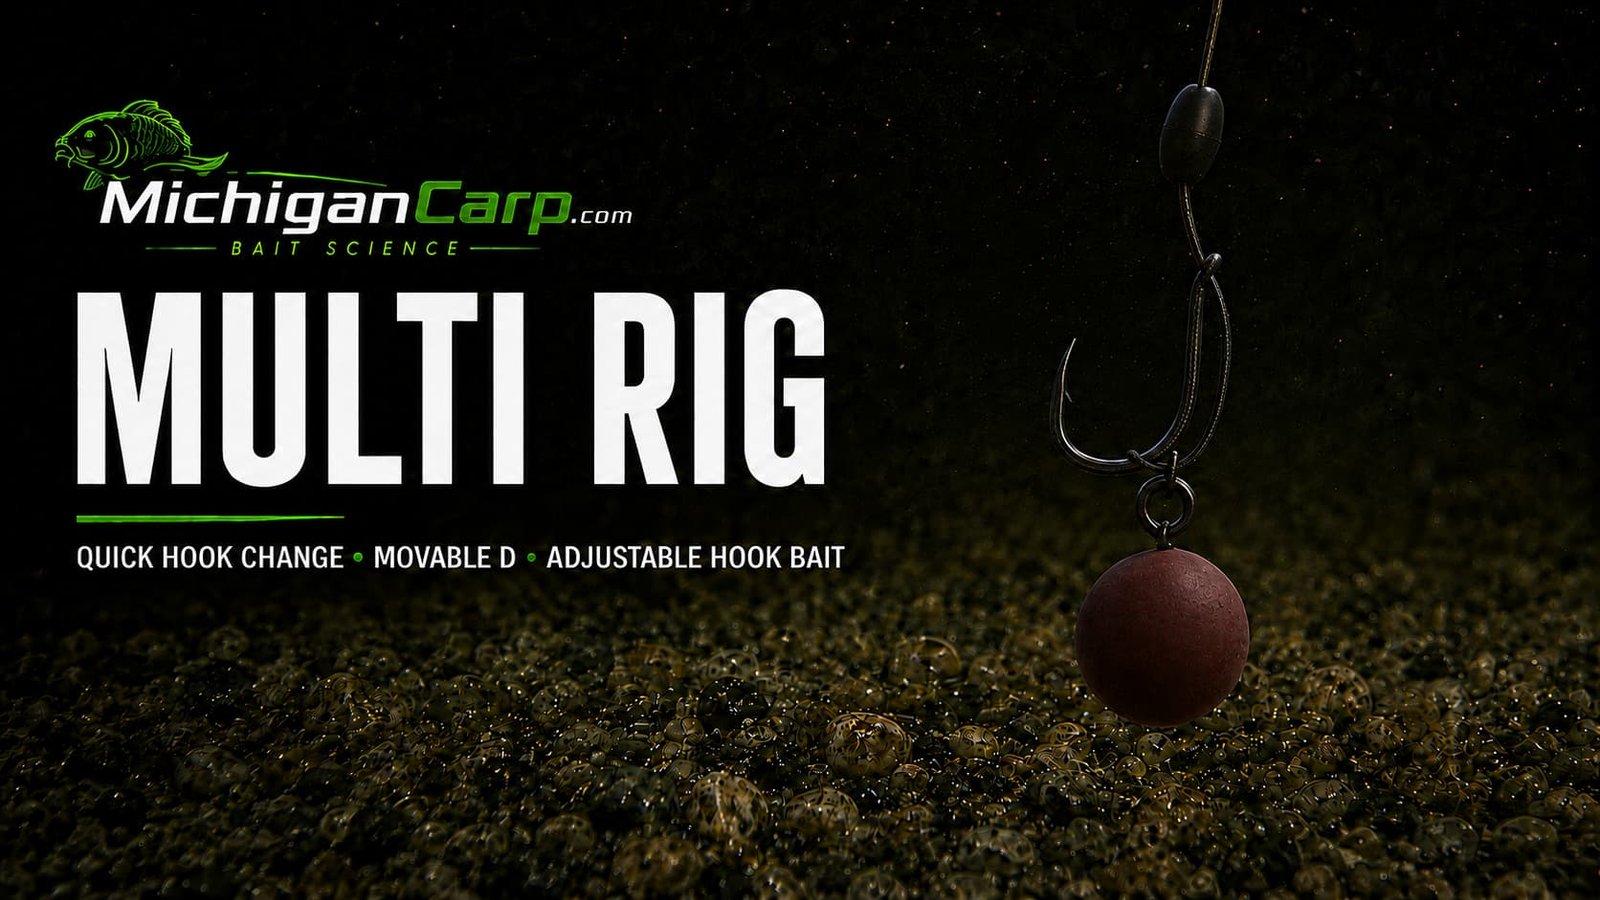
The Multi Rig for carp fishing is a quick-change presentation built around one large loop in the hooklink. That loop passes through the hook eye, carries the hookbait swivel and folds over the hook to form a movable D. When the hook point is damaged, the hook can be replaced without cutting up an otherwise sound hooklink.
It is best known as a pop-up rig, although it can also present a carefully balanced wafter or bottom bait. Its real strengths are simple mechanics, few components and fast hook changes. Its weak point is equally clear: if the loop, D, hook eye or counterbalance is wrong, the finished presentation can sit badly or tangle. The details need to be built and tested as one system.
Quick Answer
For a dependable Multi Rig, start with 8 to 10 inches of 20- to 25-pound semi-stiff coated braid, a strong size 4 or 6 large-eye hook and a micro ring swivel or bait-screw swivel. Tie a figure-eight loop at the hook end that is large enough to pass the hook through lengthways. Make a small break in the coating immediately below the loop knot, pass the loop through the hook eye from the point side, add the bait swivel and pass the loop over the hook point and bend. Pull it back to form a neat D on the back of the shank. Mount a pop-up and add just enough putty at the loop knot or boom side of the hinge to make the complete rig sink slowly. Pull-test it, water-test it and check that the bait swivel travels freely before casting.
Table of Contents
Multi Rig Quick Start
| Part | Dependable starting point | What to check |
|---|---|---|
| Hook | Strong size 4 or 6 hook with a large, smooth eye | The doubled hooklink passes through without damage |
| Hooklink | 20- to 25-pound semi-stiff coated braid | Coating is sound and the loop knot beds securely |
| Finished length | 7 to 9 inches | Adjust for lakebed, lead arrangement and casting range |
| Hook-end loop | Figure-eight loop large enough to pass the hook through | Loop controls the D and contributes to pop-up height |
| Stripped hinge | A small break in the coating below the loop knot | Enough movement for the hook section without excess soft braid |
| Bait attachment | Micro ring swivel or bait-screw swivel | Runs freely on the D and cannot bind in the hook eye |
| Hookbait | 12- to 15-millimeter pop-up as a starting point | Buoyancy is matched to hook size and counterbalance |
| Counterbalance | Small amount of tungsten putty at the loop knot or boom side | The complete rig sinks slowly and remains stable |
| Lead system | Compatible lead clip or inline system on clean ground | Lead-release and leader components work safely together |
These measurements are a starting point. Hook-eye size, hooklink diameter, pop-up buoyancy and the shape of the D vary between products. Tie the rig around the actual hook and bait, then test it in water rather than copying a measurement that belongs to different components.
What Is a Multi Rig?
A Multi Rig is a D-style presentation in which a loop in the hooklink attaches the hook without a permanent hook knot. The loop goes through the eye, a small bait swivel is placed on the doubled material and the loop is passed over the hook point. Pulling the hooklink tight creates a D behind the shank and locks the hook in position.
The bait swivel remains free to move along that D. This separation lets the hookbait move while the hook can turn and take hold. It also means the hook can be removed by reversing the lasso-style connection. The loop knot and the rest of the hooklink stay intact.
The name describes the hook section, not one mandatory lead arrangement. A Multi Rig can be connected to a compatible lead clip, inline lead or helicopter-style system when the complete setup is built safely and matched to the lakebed. Read the MichiganCarp rig guide before choosing the hook section in isolation.
What the Multi Rig Is Not
The standard Multi Rig does not use a separate fluorocarbon loop tied to a coated-braid boom with a knotless knot. The hooklink itself forms the quick-change loop. It also does not change from a pop-up to a bottom-bait rig merely by sliding the bait swivel to a fixed spot. The swivel should move freely on the D; bait buoyancy, counterbalance, loop size and hinge geometry determine how the hookbait sits.
Why the Multi Rig Works
The Multi Rig combines a mobile bait attachment with a hook that sits at an angle below a buoyant or balanced hookbait. When a carp inhales the bait, the swivel can move around the D instead of holding the hook rigidly against the bait. As the hooklink straightens, the hook has room to rotate and the exposed point can make contact.
- Quick hook changes: a blunt or damaged hook can be replaced without tying a new hooklink.
- Movable D: the hookbait swivel travels freely while the hook remains exposed.
- Adjustable presentation: loop size, D size, hinge length and putty position can tune the height and attitude of a pop-up.
- Few components: the basic version needs no spinner swivel or separate stiff hook section.
- Useful separation: coated braid helps push the hookbait away from the lead and can resist tangles.
None of that makes it self-correcting. A twisted loop, oversized D, jammed swivel or buoyant bait dragging the hook around can defeat the design. Nor does the rig guarantee a particular hook hold. Sharpness, hook pattern, bait size, lead resistance, the way the rig lands and the direction from which a carp feeds all affect the result.
Multi Rig Components and Loop Geometry
Hook
A large, smooth eye is essential because two thicknesses of hooklink must pass through it. A strong chod-style or other large-eye pattern is the easiest starting point. An out-turned eye is commonly paired with the pop-up version because it handles the doubled material cleanly and avoids an extreme in-turned angle. Other wide-gape or curved patterns can work only when the eye, wire shape and chosen hooklink are compatible.
Start with a size 4 or 6 that leaves plenty of gape beside the hookbait. Do not force a thick, coated loop through a small eye. A tight eye can scrape coating, weaken the loop or make a hook change difficult. Inspect the closure and inside surface of every eye before tying. The carp-hook guide explains hook patterns and sizing in more detail.
Coated Hooklink
Semi-stiff coated braid is the straightforward all-round material. It is supple enough to form and bed a figure-eight loop, stiff enough to kick away from the lead and durable enough to tolerate careful hook changes. A 20- to 25-pound material suits many open-water Michigan situations, but breaking strain must be matched to weed, snags, current, casting load and the rest of the tackle.
Do not choose the thickest material automatically. The doubled loop still has to pass cleanly through the hook eye. Conversely, do not reduce strength merely to make an unsuitable eye work. Change to a compatible hook or hooklink.
Figure-Eight Loop Knot
The hook-end loop is load-bearing. A properly tied figure-eight loop is the dependable choice with coated braid because it beds evenly and retains a clear loop shape. Moisten it, tighten it with steady pressure and pull-test it firmly. A casual overhand loop may be quicker, but this is not the place to save seconds at the expense of knot security.
Loop Size and the D
The loop must first be large enough to pass the chosen hook through lengthways. Once attached, the amount of loop left behind the shank forms the D. A practical starting point is a D that rises to around the level opposite the hook barb. The micro swivel must travel without binding, yet the D should not be so large that the hookbait flops far above or around the hook.
Loop size also influences how high a pop-up can sit. A longer loop generally allows a taller presentation; a shorter loop keeps it closer to the bottom. The exact result depends on hook length, the position of the loop knot, stripped hinge and counterbalance, so judge the finished rig in water rather than measuring the loop alone.
Stripped Hinge
A small break in the coating immediately on the boom side of the loop knot gives the hook section freedom to stand and react. Start with only a few millimeters. Too much exposed braid creates a long, soft hinge that can wrap around the hook or lead during the cast. Strip only enough to achieve the movement the presentation needs.
Bait Attachment
A micro ring swivel, hookbait swivel or bait-screw swivel sits on the doubled loop. Choose a ring that moves smoothly on two layers of the hooklink without slipping through the hook eye. Mount the hookbait tightly to the swivel barrel with bait floss, or use a suitable screw for a firm hookbait. The attachment must not be so long or bulky that it masks the point or closes the gape.
Kicker or Short Sleeve
The simplest Multi Rig can be tied without a kicker. A purpose-made Multi Rig kicker or a short, correctly fitted sleeve can stabilize the loop at the eye, hold the selected D profile and reduce unwanted movement on a hard cast. It must fit the hook and material without crushing or cutting the loop. Do not add a long aggressive kicker merely because it looks technical; use it to solve a real stability problem and test the finished hook angle.
Tungsten Putty
For a pop-up, mould putty around the loop knot or immediately on the boom side of the stripped hinge. This keeps the weight away from the moving D and lets the hook section turn freely. Add only enough to make the complete hook, swivel and hookbait sink slowly. Putty pushed onto the D, against the hook eye or over the swivel can stop the very movement the rig is designed to create.
How to Tie a Multi Rig for Carp Fishing
- Cut the hooklink. Start with 10 to 12 inches of semi-stiff coated braid. This leaves enough material for both loop knots and a finished rig of roughly 7 to 9 inches.
- Tie the hook-end loop. Form a figure-eight loop large enough for the complete hook to pass through lengthways. Moisten the knot, bed it firmly and trim the tag without cutting into the knot.
- Make the hinge. Remove a small section of coating immediately below the loop knot on the boom side. Begin with a few millimeters; more can be removed after the water test if necessary.
- Prepare the lead-system end. Slide on an anti-tangle sleeve if the chosen connection needs one, then tie a smaller figure-eight loop or the connection required by the compatible swivel. Pull-test it before covering it with the sleeve.
- Check the hook. Confirm that the point is sharp, the eye is smooth and the doubled hooklink passes through without being forced.
- Pass the loop through the eye. Feed the large hook-end loop through the hook eye from the hook-point side toward the back of the shank.
- Add the bait swivel. Slide the ring of a micro rig swivel or bait-screw swivel onto the doubled loop protruding behind the eye.
- Lasso the hook. Open the loop carefully, pass it over the hook point and continue it around the bend. Pull the main hooklink back through the eye until the loop grips the hook and forms a D behind the shank.
- Set the D. Arrange both sides of the loop neatly, with no twist or crossover. Start with the top of the D around the level opposite the barb, and confirm that the bait swivel runs freely from side to side.
- Add a stabilizing sleeve if required. Position a compatible Multi Rig kicker or short sleeve at the eye only if it improves control and does not damage the loop.
- Mount the hookbait. Attach a 12- to 15-millimeter pop-up to the swivel using bait floss or a bait screw. Check that the bait cannot slide off and does not obstruct the hook.
- Balance the pop-up. Mould a small amount of tungsten putty around the loop knot or boom side of the hinge. Lower the rig into water and trim the putty until the complete presentation sinks slowly and settles at the intended height.
- Test the finished rig. Pull firmly on both connections, flex the hook-eye loop and inspect it for coating damage. Move the bait swivel across the D, check the hook point and watch the rig settle several times before casting.
The common tying error is to concentrate on how the rig looks in the hand. The useful test happens in water. The hookbait must reach the intended height, the counterbalance must hold the rig down, the swivel must move freely and the hooklink must settle without twisting the D.
How to Change the Hook Without Damaging the Rig
Quick hook changes are the defining advantage of the Multi Rig, but quick does not mean careless. A barbed point, rough eye or hurried pull can score the doubled hooklink. Change the hook over a tackle box or mat so the small bait swivel cannot disappear.
- Remove the hookbait if it makes the swivel awkward to handle.
- Slide any kicker or sleeve away from the eye.
- Push a little hooklink back through the eye to slacken the lasso around the hook.
- Lift the loop carefully over the hook point and bend. Avoid dragging the point through the coating.
- Slide the bait swivel off the doubled loop and keep it safe.
- Pull the loop back through the hook eye and remove the old hook.
- Inspect the loop knot, coating and stripped hinge. Retie the complete hooklink if anything is cut, flattened, kinked or uncertain.
- Fit the new hook by passing the loop through its eye, replacing the bait swivel and passing the loop over the point and bend.
- Reset the D and sleeve, then repeat the pull test and water test.
Do not keep a hooklink simply because the rig allows it. The loop and knot remain load-bearing parts. Replace them after damage, heavy abrasion, a severe tangle or any fish that has distorted the loop. Saving one length of braid is never worth an uncertain connection.
Pop-Ups, Wafters and Bottom Baits
Pop-Ups
The Multi Rig is most at home with a single pop-up. A 12- to 15-millimeter bait is a sensible starting point with a size 4 or 6 hook, but diameter alone does not predict buoyancy. Air-dried pop-ups, cork-ball hookbaits and different mixes can lift very different amounts of metal.
Balance the complete rig, not the bait by itself. The hook, bait swivel, screw or floss and any sleeve all contribute weight. Add putty until the presentation sinks under control. A slow-sinking pop-up can settle gently over light debris; a bait that remains critically balanced for too long may drift or be moved by small fish and water movement.
Wafters and Balanced Baits
A wafter can work when it is buoyant enough to lighten the hookbait but not lift the hook section unnaturally. Some combinations need no putty; others need a tiny amount to settle correctly. Test the actual bait in lake water when possible, because buoyancy can change after soaking.
For regular wafter fishing, compare the Multi with the Slipped D Rig. Both provide a mobile D, but the Slipped D is often a more direct choice when quick hook changes and adjustable pop-up height are not the main reasons for selecting the rig.
Bottom Baits
A bottom bait can be mounted on the Multi Rig, and the free-moving D still provides separation. That does not make it the simplest bottom-bait presentation. A standard Hair Rig or another rig from the bottom-bait rig guide usually offers fewer variables when the bait should rest directly on clean ground.
Snowman Hookbaits
A snowman can be made to work, but two baits create more bulk and leverage on the small swivel. The Multi Rig’s cleanest role is a single pop-up or balanced hookbait. For a bottom bait topped with a pop-up, use the Snowman Rig guide and a straightforward hair or blowback-style presentation.
Matching the Multi Rig to the Lakebed and Lead System
The Multi Rig is versatile, but it is not a substitute for reading the bottom. A pop-up can keep the hookbait above light material while the hook and counterbalance still have to settle somewhere. If the hooklink lands in deep weed, sticks or heavy leaf litter, the bait being visible does not prove the hook is presented.
| Lakebed | Multi Rig approach | What to watch |
|---|---|---|
| Gravel, sand or firm clay | Shorter 5- to 7-inch coated hooklink with a low or medium pop-up | Hook-point damage and putty sitting between stones |
| Firm or light silt | 7- to 9-inch hooklink and a slowly settling pop-up | Lead burying deeper than the hooklink can follow |
| Low weed or scattered debris | Slightly longer hooklink, controlled pop-up height and soluble foam if needed | Hook catching weed and the D being twisted on landing |
| Deep soft silt | Consider a helicopter-style lead arrangement or a more specialized presentation | Complete lead and leader system must remain safe |
| Dense weed, sticks or heavy chod | Find a cleaner spot or select a rig designed for the bottom | A visible pop-up can still conceal a fouled hook |
Lead Clip
A properly configured lead clip is the practical all-round choice for mixed Michigan bottoms and light weed. A semi-stiff hooklink and anti-tangle sleeve help separate the rig from the lead. Set the tail rubber and leader so the lead can release when the situation requires it; do not drive every component together as tightly as possible.
Inline Lead
An inline lead creates a compact arrangement on a known clean bottom. It can also pull into soft silt and drag a short hooklink with it. Confirm that the insert, leader and mainline connections can separate or pass as the safety design requires.
Helicopter-Style System
A helicopter-style arrangement can help a rig settle above a lead that enters soft silt, but the hooklink must be controlled so it does not wrap around the leader in flight. A stiffer coated material, straight cast, visible flight and correct bead movement all matter. The upper components must be able to release or travel over knots and damaged leader sections. Read Lead Clip vs Inline vs Helicopter before building one.
For more difficult bottoms, use the silt, weed and chod-style guide. The answer may be a longer Multi Rig, a different lead arrangement, a specialized rig or simply a cleaner spot.
Casting, Tangling and Resetting
The Multi Rig can be cast accurately, but its large loop and stripped hinge create places where soft material can fold. Problems usually come from too much exposed braid, an oversized loop, a loose D or an uncontrolled cast rather than from the name of the rig.
- Keep the hinge short: expose only enough braid for the hook section to move.
- Control the D: shorten an oversized loop or use a compatible short sleeve when the D shifts during casting.
- Use an anti-tangle sleeve: it helps push the coated hooklink away from a quick-change swivel or lead system.
- Add soluble foam: a small nugget around the hook can protect the point and slow the hook section over light weed or debris.
- Cast smoothly: a progressive cast and feathered landing keep the rig straighter than a sudden, uncontrolled punch.
- Watch the rig: with a helicopter setup in particular, confirm that the hooklink is not orbiting or wrapping around the leader.
- Use PVA when appropriate: a small mesh stick or stringer can separate the hook from the lead and protect the point.
A Multi Rig may reset after a carp disturbs it, especially when the coated hooklink remains straight and the D is controlled. Do not treat that as certainty. Crayfish, small fish, weed and a buried lead can all move the hookbait into a poor position. Recast after unexplained indications or whenever confidence in the presentation is lost.
For a solid PVA bag, a short supple bag rig is usually easier to pack and more predictable. The Multi Rig can be used only if the whole presentation is tested inside the bag, but its adjustable loop provides little advantage once everything is compressed. See the PVA bag fishing guide.
Multi Rig Compared With Other Pop-Up Rigs
| Rig | Main distinction | Choose it when |
|---|---|---|
| Multi Rig | Hook attaches to a loop that also forms the D | You want quick hook changes, few components and adjustable pop-up height |
| Ronnie / Spinner Rig | Hook rotates on a spinner swivel above a separate boom | You want a low-set pop-up, controlled rotation and a standardized quick-change hook section |
| Slipped D Rig | D is formed from a stripped loop and the hook is normally secured by a knotless knot | You want a mobile D for wafters, balanced baits or pop-ups without prioritizing quick hook changes |
| Hinged Stiff Rig | Separate stiff hook section hinges above a boom | You want a defined pop-up section over known clean ground or light silt |
| Chod Rig | Short stiff hook section travels on a helicopter-style leader | The lakebed is soft or littered enough to require a specialized presentation |
Multi Rig vs Ronnie Rig
Both rigs allow the hook to be changed without replacing the complete boom. The Multi Rig does it with a lassoed hooklink loop and movable D; the Ronnie uses a spinner swivel, kicker and hook bead. The Multi Rig uses fewer metal components and can create a taller pop-up presentation. The Ronnie normally sits low and gives the hook controlled rotation around the swivel. Neither is automatically better. Choose the geometry that suits the hookbait and bottom, then tie it consistently. See the Ronnie Rig guide.
Multi Rig vs Slipped D Rig
Both place a bait swivel on a D behind the shank. The difference is how the hook is attached. A standard Slipped D uses a knotless-knot arrangement, while the Multi Rig’s loop acts as the hook connection and D. Choose the Multi Rig when replacing hooks quickly or changing pop-up height matters. Choose the Slipped D when a permanently tied hook and a supple mobile D give the presentation you want.
Common Multi Rig Mistakes
Tying a Separate Loop to the Boom
The standard construction uses a large loop in the hooklink itself. A separate braided loop joined to a stiff boom is a combi Multi variation and needs its own correct joining knot and measurements. Do not mix the two builds halfway through.
Using the Wrong Hook Eye
If the doubled hooklink only passes through with force, the components are not compatible. Damage can be hidden inside the eye. Use a larger-eye hook or a hooklink diameter that still provides the required strength.
Twisting or Oversizing the D
Both legs of the loop should lie neatly behind the shank. A twist can trap the bait swivel, while an oversized D lets the bait wander and can make the hook section unstable. Reset the loop after every hook change and fish.
Stripping Too Much Coating
A long soft section may look flexible in the hand but can fold around the hook during the cast. Begin with a small break in the coating and enlarge it only when the water test shows that the hook cannot stand or move correctly.
Putting Putty on the Moving Section
Putty on the D or against the bait swivel restricts movement. Put the counterbalance around the loop knot or on the boom side of the hinge, then confirm that the hook section can still turn.
Trying to Lock the Bait Swivel in Position
The swivel is meant to move along the D. Changing its resting position does not convert the rig from pop-up to wafter or bottom bait. Change the hookbait buoyancy and counterbalance, and retie the loop geometry when a different height is required.
Skipping the Water Test
Pop-up buoyancy varies even between baits from the same tub. Test after every hookbait change, after trimming a bait and after changing hook size. A rig that was balanced yesterday can sit differently after the bait absorbs water.
Reusing a Damaged Hooklink
Quick-change does not mean unlimited reuse. Inspect the loop after every fish and retrieve. Replace it when the coating is scored, the knot has moved, the loop is permanently kinked or abrasion is visible.
A Practical Multi Rig Setup for Michigan Carp
For a public lake with a mixture of firm silt, scattered low weed and clean gravel patches, start with a strong size 4 or 6 large-eye hook, 20- to 25-pound semi-stiff coated braid and a finished hooklink of about 7 to 9 inches. Form a compact D, leave only a short stripped hinge and fish a 12- to 15-millimeter pop-up balanced to sink slowly.
Connect it to a correctly configured lead clip when the bottom is mixed and the lead may need to release in weed. Use an inline system only on a clean, known area. If the lead consistently plugs into soft silt, reconsider the lead shape, hooklink length and complete lead arrangement rather than simply increasing the pop-up height.
Before every cast, check five things:
- the hook point is sharp and undamaged;
- the doubled loop is not cut or flattened by the eye;
- the D is neat and the bait swivel moves freely;
- the pop-up and counterbalance sink as intended;
- the lead and leader system can separate safely if the mainline breaks.
Use the shortest, simplest version that presents correctly. Lengthen the hooklink for light debris or a lead that enters silt, not because a longer rig sounds more advanced. Raise the pop-up only enough to clear the material you have actually found. If the area is dense with weed, branches or zebra-mussel-covered obstacles, finding a safer spot and controlling the fish matter more than the chosen D.
Frequently Asked Questions
What is the Multi Rig best used for?
Its clearest role is presenting a pop-up over a reasonably clean bottom, firm silt or low weed while allowing fast hook changes. It can also present wafters and bottom baits, but simpler rigs may suit those baits better.
Does a Multi Rig need an out-turned-eye hook?
Not in every variation, but a large-eye chod-style hook with an out-turned eye is the easiest and most common match for the pop-up version. The critical requirements are adequate eye diameter, a smooth eye and geometry that works with the doubled hooklink. Test any alternative rather than assuming every wide-gape hook is suitable.
How long should a Multi Rig be?
Five to seven inches is a useful starting point on clean or patchy ground; 7 to 9 inches is a forgiving all-round length over firm silt and scattered debris. Lengthen only when the bottom or lead penetration requires it. Always measure the finished rig after both loop knots are tied.
How big should the Multi Rig loop be?
It must be large enough for the chosen hook to pass through lengthways. After attachment, set a neat D that allows the bait swivel to travel freely; around the level opposite the barb is a practical starting point. Make the loop longer only when a higher pop-up is required and the complete rig remains stable.
Can I tie a Multi Rig with fluorocarbon?
Some specialist materials and combi variations can create a stiff Multi-style presentation, but ordinary fluorocarbon is not the easiest material for the standard lasso loop. It can be difficult to knot, pass doubled through the eye and reuse without kinking. Learn the semi-stiff coated-braid version first.
Can a Multi Rig be used with a wafter?
Yes. Use a wafter whose buoyancy lightens the hookbait without lifting the hook section into an unstable position. Add or remove putty according to the water test. Do not try to convert the rig by locking the bait swivel at one end of the D.
Is the Multi Rig better than the Ronnie Rig?
No universal winner exists. The Multi Rig uses fewer metal components and can fish a pop-up at adjustable heights. The Ronnie provides a low, rotating hook section on a spinner swivel. Choose according to the hookbait, lakebed and build you can tie and test consistently.
Does the Multi Rig need a kicker?
No. A compatible short kicker or sleeve can stabilize the eye connection and D, especially for harder casting, but the basic rig works without one. Add it only when it fits the hooklink without damage and improves the tested presentation.
How often should I change the hook?
Check it before every cast and after every fish. Change it whenever the point is dull, turned over, rusted or damaged. At the same time, inspect the loop; fitting a new hook to a worn hooklink does not make the rig reliable.
Will the Multi Rig reset after a carp ejects it?
It can reset when the coated hooklink, D and counterbalance remain controlled, but no rig resets perfectly in every bottom condition. Weed, debris, crayfish and a buried lead can all compromise it. Recast when the indication or lakebed gives you reason to doubt it.
Final Multi Rig Checklist
- Large-eye hook and hooklink diameter are compatible.
- Both figure-eight loops are fully bedded and pull-tested.
- Only a short hinge is stripped below the hook-end knot.
- The loop lies untwisted and forms a controlled D.
- The bait swivel moves freely without entering the hook eye.
- The hookbait leaves the point and gape exposed.
- Putty sits at the knot or boom side, not on the moving D.
- The complete rig sinks and settles correctly in water.
- The hook point and loop are rechecked after every retrieve.
- The lead and leader arrangement can separate safely.
Next Steps
- Carp Rig Guide for Michigan — choose the rig family before the individual pattern.
- Pop-Up Rigs for Carp — compare Multi, Ronnie, Slipped D and combi presentations.
- Ronnie Rig for Carp Fishing — build the low pop-up alternative.
- The Slipped D Rig — a mobile D for balanced hookbaits and pop-ups.
- Silt, Weed and Chod-Style Rigs — match the presentation to awkward lakebeds.
- Carp Hooks Explained — compare eyes, gapes, points and wire.
- Lead Clip vs Inline vs Helicopter — build the complete end-tackle system safely.
Technical Reference
For a manufacturer-published visual cross-check of the two-loop construction, see Korda’s How to Tie the Multi Rig. Use it as a component and tying reference; always test the finished rig with the exact hooklink, hook and hookbait you intend to cast.
Tight lines — keep it simple, keep it safe, and let the lakebed decide.