
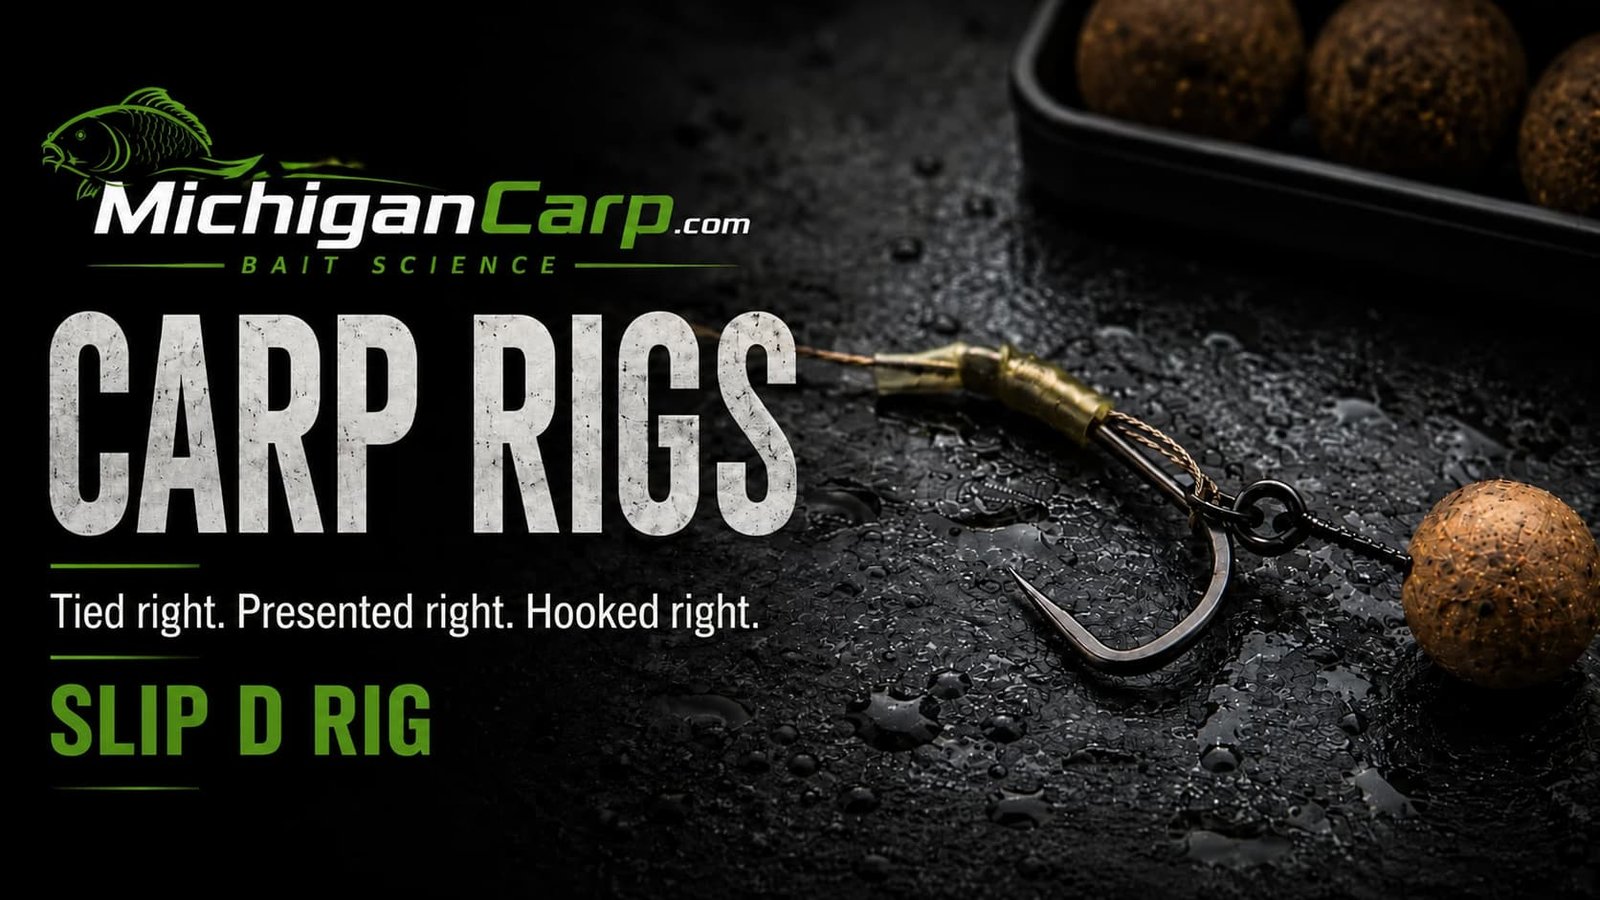
The Slip D Rig, also commonly called the Slipped D Rig, is one of the most useful modern carp rigs for presenting wafters, critically balanced hookbaits and bottom baits.
Its strength is not that it is complicated. It is that a relatively simple hooklink gives the hookbait freedom to move while keeping the hook exposed and mechanically independent from the bait.
A correctly tied Slip D combines a semi-stiff coated-braid hooklink with a supple D-shaped loop behind the hook. A micro ring swivel, rig ring or bait-screw swivel moves along that D, allowing the bait to slide and rotate rather than being fixed tightly against the hook.
For Michigan carp fishing, I particularly like the concept over clean ground, firm silt and lightly silty lakebeds where I want something more refined than a basic Hair Rig without moving into a specialist high pop-up presentation.
It is particularly useful with wafters and balanced bottom baits, although ordinary bottom baits and carefully counterbalanced low pop-ups can also be presented on it.
The important part is not the name of the rig. The hook pattern, D size, hookbait balance, hooklink material, lakebed and lead system all have to work together.
If you are still choosing between rig families, start with the MichiganCarp Rig Guide. For simple bottom-bait options, compare the Bottom-Bait Rigs guide.
Table of Contents
Quick Start: My Slip D Rig Starting Point
| Component | Practical starting point |
|---|---|
| Hook | Strong curve-shank, hybrid or suitable wide-gape pattern |
| Hook size | 4–6 for general fishing; 2–4 with larger baits or demanding conditions |
| Hooklink | Semi-stiff coated braid |
| Breaking strain | Around 20–25 lb for general use; heavier where conditions demand it |
| Finished hooklink | About 6–9 inches |
| D section | Supple stripped braid |
| Bait attachment | Micro ring swivel, rig ring or bait-screw swivel |
| Best starting hookbait | Wafter or critically balanced bottom bait |
| Lakebed | Clean ground to light silt |
| Kicker | Short shrink-tube or molded kicker |
| Lead system | Lead clip or inline on clean ground; suitable helicopter arrangement where softer silt requires it |
If I wanted one uncomplicated version to start with, I would use a strong size 4 or 6 curve/hybrid hook, semi-stiff coated braid, a small bait-screw swivel and a wafter.
Get that version working properly before changing hook patterns, D size, bait buoyancy and hooklink length all at once.
What Is a Slip D Rig?
The defining feature of the Slip D Rig is the supple D behind the hook.
On a conventional Hair Rig, the hookbait is normally attached to a hair extending from the shank or bend. On a traditional stiff D-style rig, the D itself is usually formed from relatively stiff monofilament or fluorocarbon.
The Slip D does something different.
A section of supple braid is doubled, passed through the hook eye and then slipped around the bend and over the hook point. The bait attachment sits on that doubled section.
The result is a soft, mobile D.
When a carp takes the hookbait, the bait attachment can travel along the D instead of holding the bait rigidly against the hook. This gives the hook more independence from the hookbait and can improve its opportunity to turn and take hold.
That does not make the rig impossible to eject. No carp rig can guarantee that.
The Slip D is simply a controlled way of separating bait movement from hook movement.
Why the Slip D Rig Works
The hookbait can move
The bait is not fixed tightly against the shank. A micro ring swivel or bait-screw swivel can travel along the supple D and also rotate independently.
That gives the hookbait freedom during both inhalation and ejection.
The hook has room to turn
Because the bait can move away from the hook, it is less likely to obstruct the point or usable gape as the hook turns.
This is one reason the presentation works particularly well with wafters and balanced baits.
The D creates controlled separation
The bait sits clear of the hook rather than being crowded directly against the bend.
Correct separation helps leave the point and gape available to work.
The kicker controls the exit angle
A short kicker or piece of shrink tube over the eye can extend the effective shank and encourage the hook to turn.
A very aggressive angle is not automatically better. The goal is controlled rotation, not the most dramatic-looking rig in the tackle box.
The coated braid adds control
Semi-stiff coated braid is intended to help the hooklink separate from the lead and reduce the chance of it collapsing into a loose tangle. At the hook end, a short stripped section retains flexibility so the hook and D can move more freely.
The result still depends on the cast, lakebed, lead arrangement and how the completed rig settles.
Slip D Rig vs a Standard D Rig
The names cause confusion because both presentations use a D-shaped bait attachment.
The important difference is the material forming the D.
A conventional D Rig commonly uses a relatively stiff mono or fluorocarbon D. The Slip D uses supple braid.
That changes the way the bait attachment moves.
A stiff D tends to hold its shape. A braided Slip D can fold, move and collapse more freely as the carp manipulates the bait.
Neither design is universally better.
If I want a very precise stiff presentation over clean ground, a conventional D-style arrangement can make sense. If I want greater bait movement with a wafter or balanced bait, the Slip D becomes more attractive.
What You Need to Tie a Slip D Rig
You do not need many components:
- a strong carp hook;
- semi-stiff coated braid;
- micro ring swivel, rig ring or bait-screw swivel;
- short shrink tube or molded kicker;
- scissors;
- coating stripper;
- anti-tangle sleeve when using a quick-change swivel;
- bait floss if required;
- rig putty when balancing a buoyant hookbait.
The quality of those components matters more than the number of gadgets in the rig.
Pay particular attention to hook sharpness, hook strength and the condition of the hooklink.
Choosing the Right Hook
The Slip D is commonly associated with curve-shank hooks, but there is no single mandatory hook pattern.
Strong curve-shank, hybrid and suitable wide-gape patterns can all work when their geometry matches the D and hookbait.
Look at the complete combination:
- usable gape;
- point style and sharpness;
- shank length;
- eye angle;
- wire gauge;
- hookbait diameter;
- strength needed for the water.
For typical 14–18 mm hookbaits, sizes 4–6 are sensible starting points.
With larger 20–24 mm baits, particularly in demanding wild-water fishing, size 2 or 4 may give better bait-to-hook proportions and more usable gape.
Do not automatically choose a tiny hook because you think a carp will be frightened by a larger one. The hook must still have enough exposed gape to penetrate properly.
For a deeper comparison, read Carp Hooks Explained: Patterns, Sizes and Best Uses.
How to Tie the Slip D Rig Step by Step
Step 1: Cut and strip the hooklink
Start with roughly 10–12 inches of coated braid so you have enough material to work comfortably before setting the final length.
Strip approximately 4 inches of coating from the hook end.
You need enough exposed braid to form the D, complete the knotless knot and leave a short supple hinge below the hook.
Step 2: Double the stripped braid
Fold the stripped section back on itself to create a doubled loop.
Do not make the loop tiny at this stage. It must pass through the hook eye, carry the bait attachment and then pass around the hook bend and point.
Step 3: Pass the loop through the hook eye
Pass the doubled braid through the hook eye from the front toward the back of the hook.
Pull enough through for the loop to reach comfortably around the bend.
Step 4: Add the bait attachment
Slide the micro ring swivel, rig ring or bait-screw swivel onto the doubled braid.
For most modern versions, I prefer a micro ring swivel or bait-screw swivel because it allows the hookbait to rotate as well as travel along the D.
Step 5: Slip the loop over the hook
Take the doubled braid around the bend and carefully over the hook point.
This is the movement that forms the Slip D and traps the bait attachment on the loop.
Pull gently until the D begins to take shape behind the hook.
Step 6: Set the size of the D
As a starting point, position the bait swivel approximately opposite the barb area of the hook, adjusting slightly according to the exact hook pattern.
Do not treat that position as a universal measurement.
An oversized D can become untidy and allow the bait attachment to interfere with the hook. A tiny D restricts the very movement that makes the presentation useful.
The aim is a compact D that gives the bait attachment room to move while keeping the complete presentation controlled.
Step 7: Secure the rig with a knotless knot
Once the D is positioned correctly, secure everything with a neat knotless knot.
Five to eight controlled turns is normally enough depending on hook pattern and material.
Keep the whipping neat and make sure the working hooklink leaves the eye in the correct direction for the geometry you are trying to create.
Do not cover the entire stripped section. Leave a short supple hinge below the hook.
Step 8: Add the kicker and finish the hooklink
Slide a short piece of shrink tube or a compatible molded kicker over the hook eye and knot.
With shrink tube, around 8–10 mm is a sensible starting length.
Form only a modest angle. You are trying to encourage rotation, not bend the hooklink through an extreme angle.
Set the final hooklink length. Around 6–9 inches is a useful general starting range.
Finish with a figure-of-eight loop or another compatible lead-end connection, add an anti-tangle sleeve where appropriate, and pull-test the complete hooklink before fishing.
Why the Position of the D Matters
The D controls where the bait sits relative to the hook.
Move it too far toward the eye and the bait can sit too close to the shank. Extend it too far down the bend and the bait attachment can gain excessive travel and potentially interfere with the point.
There is no single measurement that fits every hook because hook patterns differ in shank length, gape, eye angle and curvature.
Look at the completed rig from the side.
The bait should sit far enough from the hook that it does not mask the gape or point, while the swivel still has useful freedom to move along the D.
That relationship matters more than copying somebody else’s millimeter measurement.
Best Hookbaits for the Slip D Rig
Wafters
This is where the Slip D really comes into its own.
A properly balanced wafter reduces the apparent weight of the hookbait while still allowing the hook to sit naturally on the lakebed.
Do not assume every bait sold as a wafter will balance correctly with every hook. Hook size, wire gauge, drying and bait buoyancy all change the result.
Test the completed rig in water.
Critically balanced bottom baits
A trimmed bottom bait can also work extremely well.
You can remove enough material to reduce its weight or add a small piece of cork when making your own balanced hookbait.
The goal is not necessarily to make the bait float. It is to make the hookbait easier for a feeding carp to move without lifting the hook into an unstable position.
Standard bottom baits
A normal sinking boilie can be fished on a Slip D.
You lose some of the balance of a wafter, but the mobile D still separates the bait attachment from the hook.
I would particularly consider a standard bottom bait when matching a bed of similar free offerings.
Pop-ups
The Slip D can present a low pop-up when it is correctly counterbalanced, but I do not regard that as its primary job.
For strongly buoyant pop-ups or more specialist presentations, I would normally look first at the Ronnie / Spinner Rig, Multi Rig or another presentation from the Pop-Up Rigs guide.
How Should a Wafter Sit?
A wafter does not need to levitate dramatically above the hook.
In many situations I want the hook to remain on the bottom while the bait behaves unusually light.
Lower the completed rig into shallow water.
The bait should settle under control rather than shooting upward.
If the hookbait lifts the entire hook well clear of the bottom, it is behaving more like a pop-up. If it drops heavily with no balancing effect, it may simply be functioning as a normal bottom bait.
Neither automatically means the rig cannot catch carp.
The point is to understand what you are actually presenting before you cast it.
Best Lakebeds for the Slip D Rig
The Slip D is particularly comfortable over:
- firm sand;
- clay;
- gravel;
- polished feeding areas;
- light natural debris;
- thin or firm silt;
- low sparse weed.
I am less comfortable casting it blindly into deep soft silt, heavy weed, thick leaf litter, sticks or accumulated debris.
The problem is not that the hook suddenly stops working.
The problem is presentation.
If the lead buries deeply and drags a short coated hooklink into debris, clever hook mechanics become irrelevant.
Fishing the Slip D over light silt
Light silt is not automatically a reason to abandon a bottom-oriented rig.
Carp feed naturally in silt. The question is how deep the silt is and how far the lead penetrates.
Over a thin layer, I may lengthen the hooklink slightly, reduce lead weight where practical, use a suitable helicopter-style arrangement or choose a wafter that settles slowly.
The aim is not necessarily to keep every part of the rig floating above the silt. It is to prevent the hook and bait becoming buried so deeply that they no longer fish effectively.
Fishing the Slip D around weed
Sparse or low weed can be manageable when you have identified a clean or presentable patch.
Heavy weed is different.
No hook rig makes dense weed disappear.
When the bottom becomes too soft, obstructed or uncertain, change the complete presentation rather than trying to force the Slip D into a job it does not suit.
Use the Silt, Weed and Chod-Style Rig Guide when the lakebed demands something different.
Slip D Rig for Michigan Carp
Michigan waters change some of the priorities compared with perfectly manicured commercial carp fisheries.
Many of our waters contain combinations of zebra mussels, coarse gravel, rock, timber, submerged branches, cabbage weed, silt and large wild carp.
That means I put a high value on strength, durability and fish control.
A delicate rig that looks excellent in a photograph is not useful if the hook point rolls on gravel or the hooklink fails against structure.
In relatively clean open water, 20–25 lb coated braid is a sensible starting point.
Around demanding cover, I would rather increase hook and hooklink strength than stay with a lighter setup I do not trust.
Likewise, I will use size 2 or 4 hooks when bait size, fish size and the water justify them.
Rig finesse should never come at the expense of landing the carp safely.
Slip D Rig Compared With Other Carp Rigs
| Rig | Main difference | When I would consider it |
|---|---|---|
| Hair Rig | Fixed hair with very simple mechanics | Clean ground and straightforward bottom-bait fishing |
| Slip D Rig | Mobile bait attachment on a supple braided D | Wafters and balanced baits on clean to lightly silty ground |
| Blowback-style rig | Bait ring moves along the hook shank | Bottom baits and wafters when you want a moving attachment without a braided D |
| Multi Rig | Large loop attaches the hook and forms a quick-change D | Pop-ups, wafters and situations where fast hook changes matter |
| Ronnie / Spinner | Hook rotates on a spinner swivel | Controlled low pop-up fishing |
Slip D vs Hair Rig
The Hair Rig is simpler and has fewer moving parts.
The Slip D gives the bait attachment more freedom and separation from the hook.
Use the extra mechanics when they solve a real presentation problem. Do not abandon a simple Hair Rig just because the Slip D looks more sophisticated.
Read Hair Rig for Carp Fishing for the simpler starting point.
Slip D vs Blowback-style rigs
Both designs allow the bait attachment to move relative to the hook.
A Blowback Rig usually uses a ring moving directly along the hook shank. The Slip D places the bait attachment on a supple braided D behind the hook.
Neither makes the other obsolete.
Slip D vs Ronnie / Spinner
The Slip D is strongest for me with wafters and balanced bottom baits.
The Ronnie or Spinner is primarily a pop-up presentation and gives the hook rotational freedom through the spinner swivel.
If I want a balanced bait over a clean area, the Slip D is high on my list. If I want a dedicated low pop-up, I normally look at the Ronnie first.
Slip D vs Multi Rig
The Multi Rig has a major practical advantage: the hook can be changed without rebuilding the complete hooklink.
The Slip D uses a conventional hook knot and is especially straightforward with balanced baits.
The Multi is particularly useful when fast hook changes and pop-up presentation are priorities.
Read Multi Rig for Carp Fishing for the full build.
Common Slip D Rig Mistakes
Making the D too large
More movement is not automatically better.
An oversized D can become untidy and increase the chance of the bait attachment interfering with the hook point.
Making the D too small
A tiny D restricts the movement that makes the rig useful.
Using the wrong bait-to-hook proportion
A large hookbait hanging from a tiny hook can mask useful gape.
Judge the complete hook-and-bait combination.
Over-balancing the hookbait
If a supposed wafter lifts the hook well off the bottom, you are effectively fishing a pop-up.
That may still catch carp, but it is a different presentation.
Using a damaged hook
No D, kicker or coated braid can compensate for a damaged point.
Check it before every cast and after every fish or contact with rough ground.
Making the kicker too aggressive
A huge curved kicker can make the rig look impressive without improving how it fishes.
Start modestly and test the complete presentation.
Stripping too much coating
If most of the hooklink becomes supple, you lose much of the control provided by the coated braid.
Stripping too little coating
If the stiff coating continues right up to the hook, you remove much of the flexible hinge that allows the hook and D to move.
Choosing the rig before understanding the bottom
This is one of the biggest mistakes in carp fishing generally.
Understand the lakebed first. Then choose the presentation.
Test the Rig Before You Cast It
I do not rely entirely on the traditional palm test.
It can demonstrate whether a hook wants to turn, but a human hand is not the inside of a carp’s mouth.
Use several checks instead.
Make sure:
- the hookbait does not mask the point or gape;
- the bait attachment moves freely;
- the D cannot easily foul the hook point;
- the hook rotates cleanly when the hooklink is drawn forward;
- the wafter balances as intended;
- the coated section straightens properly;
- the hook point is perfect.
Then lower the completed rig into shallow water and watch it settle.
A thirty-second water test can reveal problems that are invisible when the rig is lying dry in your hand.
Lead Systems and Fish Safety
The hook rig is only one part of the terminal-tackle system.
A perfectly tied Slip D attached to an unsafe lead arrangement is still unsafe.
Use lead clips, inline systems and helicopter arrangements correctly and make sure the components can release or separate as their safety design requires.
If a lead needs to discharge around weed or snags, make sure it actually can.
Do not jam components together simply because you are worried about losing a lead.
When fishing near timber, rocks, zebra mussels or heavy weed, think about what happens if the main line breaks.
A carp should not be left towing a dangerous length of terminal tackle.
For the full system comparison, read Carp Lead Systems for Michigan: Lead Clip vs Inline vs Helicopter.
FAQ
Is the Slip D Rig good for wafters?
Yes. Wafters and critically balanced hookbaits are where the Slip D is especially useful. The mobile D gives the bait freedom while allowing the hook to remain mechanically independent.
Can you use a bottom bait on a Slip D Rig?
Yes. Ordinary bottom baits work well, particularly when matching a bed of similar free offerings.
Can you use a pop-up on a Slip D Rig?
Yes, if it is correctly counterbalanced. For dedicated pop-up fishing, however, a Ronnie/Spinner, Multi or other specialist pop-up rig may be more direct.
What size hook should I use?
Sizes 4–6 cover a great deal of normal carp fishing. Larger size 2–4 hooks can make sense with 20–24 mm hookbaits, large wild carp or demanding water. Match hook size to bait size, usable gape and fishing conditions.
What hooklink is best for the Slip D Rig?
Semi-stiff coated braid is an excellent starting point because it provides control through most of the hooklink while allowing a short stripped section to remain supple near the hook.
How long should a Slip D Rig be?
Around 6–9 inches is a useful starting range. Adjust it according to lakebed firmness, lead penetration, casting requirements and how the carp are feeding.
Where should the bait swivel sit on the D?
Around barb level is a useful visual starting point, but exact position should be adjusted to the hook pattern. The important test is that the bait can move without masking or fouling the point.
Does the Slip D Rig need a hook bead?
No. The D is made from doubled braid, and the bait attachment is captured on that loop.
Is the Slip D better than a Hair Rig?
Not automatically. The Hair Rig is simpler and remains an excellent carp rig. The Slip D adds a mobile bait attachment and extra separation when you have a reason to use those mechanics.
Is the Slip D Rig suitable for beginners?
Yes, once the doubled-braid D is understood. It is slightly more involved than a basic Hair Rig but uses few components and becomes straightforward with practice.
My Practical View of the Slip D Rig
One of the easiest ways to make carp rigs unnecessarily complicated is to spend too much time looking for a presentation that supposedly cannot be ejected.
It does not exist.
Carp rigs are mechanical systems.
The hookbait has to enter the mouth. The hook has to be positioned well enough to make contact. The point has to be sharp. The lead system has to provide appropriate resistance. And the rest of the tackle has to remain intact long enough to land the fish safely.
The Slip D does those basic jobs very well when the lakebed and hookbait suit it.
Its real strength is the combination of a mobile hookbait, supple braided D, controlled coated-braid hooklink and uncomplicated hook arrangement.
For wafters and balanced bottom baits on clean to lightly silty ground, it is one of the modern rigs I consider genuinely worth understanding.
Tie the D neatly. Match the hook to the bait. Keep the point perfect. Balance the hookbait in water. Understand the bottom before casting.
Then stop worrying about the rig and concentrate on putting it where the carp are actually feeding.
Next Steps
Use these guides to compare the Slip D with other presentations and build the complete terminal-tackle system:
- Carp Rig Guide for Michigan — choose the rig family that matches the hookbait and lakebed.
- Carp Hooks Explained — compare gape, shank, point, wire gauge and hook size.
- Hair Rig for Carp Fishing — the simpler bottom-bait foundation.
- Bottom-Bait Rigs for Michigan Carp — compare Hair, KD, Blowback, Combi and Slip D presentations.
- Multi Rig for Carp Fishing — another D-style presentation with fast hook changes.
- Ronnie / Spinner Rig — the main dedicated low pop-up alternative.
- Pop-Up Rigs for Michigan Carp — compare Ronnie, Multi, Slip D and other buoyant presentations.
- Silt, Weed and Chod-Style Rigs — move to a different presentation when the bottom becomes too soft or obstructed.
- Carp Lead Systems for Michigan — match the Slip D to a safe lead clip, inline or helicopter arrangement.
- Complete Michigan Carp Rig Guide — compare the complete rig system in one place.
Technical Reference
For a manufacturer tying reference showing the same basic coated-braid, stripped-section and loop-over-hook construction, see Korda: How to Tie a Slip D Rig.
The Slip D is not a magic rig. It is simply a very useful way to combine controlled hooklink stiffness with a mobile bait attachment. When the hookbait, hook, D, lakebed and lead system all match, it is a clean and dependable presentation for Michigan carp.