
A razor-sharp hook is the single most important connection between you and that trophy carp. Whether you’re troubleshooting lost fish, comparing sharpening methods, or preparing for your first serious session, learning to properly sharpen and maintain your hooks will dramatically improve your hookup and landing ratios on pressured waters.
The direct answer: Sharpen carp hooks using the three-sided method—work a fine file or stone from barb to point on the top and both sides of the hook, creating a triangular profile that penetrates with minimal pressure. Check sharpness before every cast by pressing the point lightly against your fingernail or fingertip; if it grips and sticks, you’re ready to fish.
Why Hook Sharpening Matters for Carp Fishing
Carp fishing presents unique challenges that make hook sharpness more critical than in many other disciplines. Unlike lure fishing where you’re actively striking, carp rigs rely on self-hooking mechanisms. The fish needs to prick itself against that point during normal feeding behavior, and if your hook isn’t absolutely needle-sharp, the carp will blow the rig out before proper penetration occurs.
On pressured waters where carp have encountered countless rigs, the fish become experts at ejecting suspicious mouthfuls. A properly sharpened hook creates what experienced anglers call a “sticky” point—one that catches hold almost immediately upon contact with the mouth tissue. This fraction-of-a-second advantage often determines whether you’re photographing a personal best or wondering what went wrong.
Factory-sharpened hooks, even those labeled “chemically sharpened,” rarely match the surgical precision you can achieve with proper hand-finishing. Most hooks come reasonably sharp out of the packet, but that level of sharpness simply isn’t adequate for heavily pressured venues where success depends on every possible advantage.
Essential Sharpening Equipment
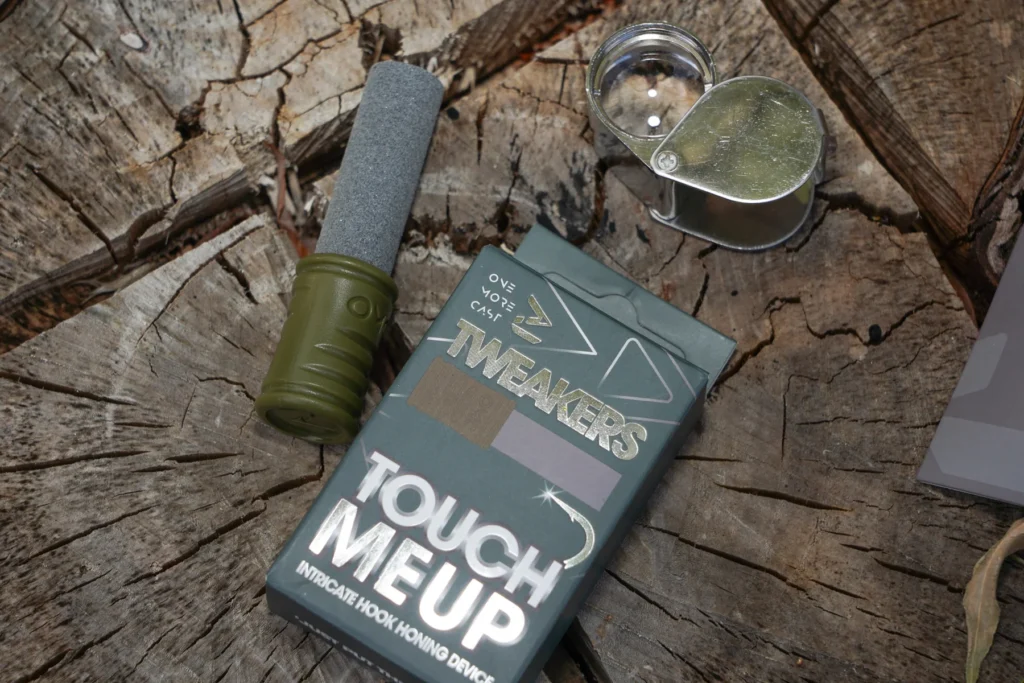
Before touching up your first hook, gather the right tools. You’ll need a fine-cut hook file (Swiss-style pillar files work exceptionally well), a finishing stone or honer for refining the point, a jeweler’s loupe or magnifying glass (30x magnification is ideal), and a small hand vice for securing the hook during work.
The combination approach—file first, then stone—yields the best results. Files remove material efficiently to establish the initial shape, while stones produce the ultra-fine finish that creates truly sticky points. Diamond stones work excellently because they sharpen consistently and handle different hook coatings effectively.
Some anglers prefer stones alone for smaller hooks or straight-pointed patterns since they remove less metal. This preserves hook strength and is particularly important on finer wire patterns where aggressive filing could compromise integrity. The number of file strokes needed also varies depending on the hook’s coating; harder coatings like those found on some premium patterns require more strokes to achieve the same result.
The Three-Sided Method: Step by Step
The most effective sharpening technique creates a triangular cross-section at the point, allowing maximum penetration with minimum resistance. Start by securing your hook in the vice with the eye positioned low to keep your file clear.
Begin with the top surface of the hook point. Working from barb toward tip, make four or five light upward strokes with your file. Inspect the results with your magnifying glass before proceeding. The goal is to see a uniformly bright, freshly-filed surface.
Repeat this process on both sides of the hook, again working from barb to point with the same number of controlled strokes. Check frequently with your loupe to ensure even metal removal. After completing all three sides, you’ll notice slight square edges where the filed surfaces meet.
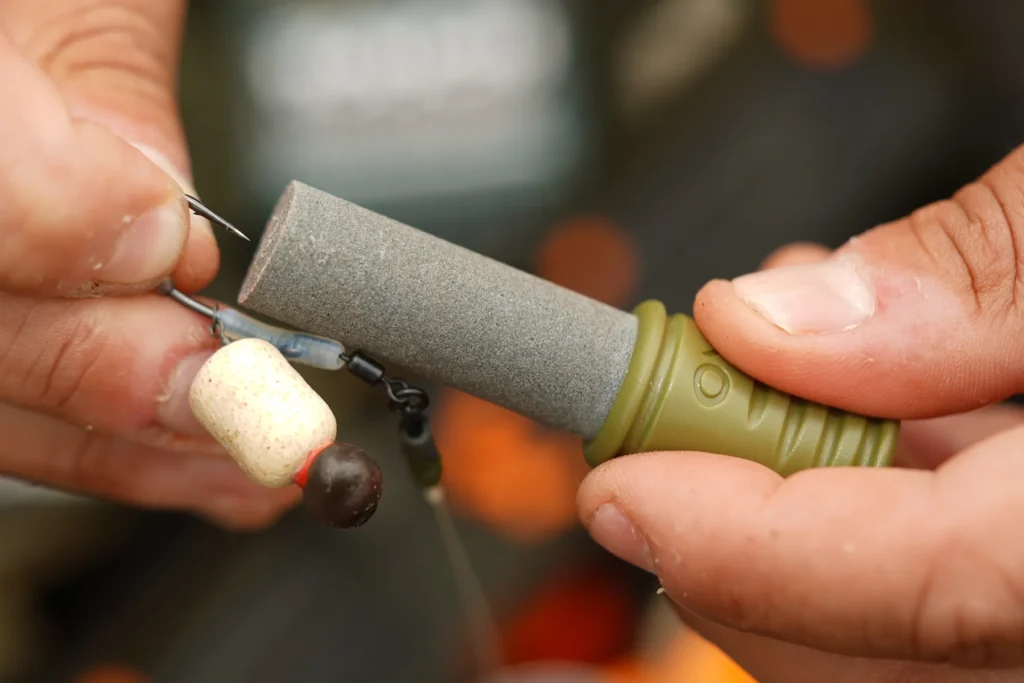
Now switch to your finishing stone or honer. Working at roughly 45-degree angles, smooth those squared edges and refine the point further. The stone removes far less material than the file, allowing precise finishing without dramatically altering your established geometry. Continue checking with magnification until the point appears to disappear into nothingness—that’s how sharp a properly finished hook should look.
Example Scenario: A Michigan Lake Morning Session
Picture this: You’ve driven two hours to reach a pressured gravel pit lake near Traverse City for a six-hour morning session targeting the resident mirror carp. You’ve heard these fish are notoriously tricky, with a reputation for blowing out rigs.
Before making your first cast, you secure one of your size 4 wide-gape hooks in your palm vice. Under the magnifying loupe, what appeared sharp to the naked eye reveals a slightly rounded point—typical of factory-sharpened hooks. Five controlled strokes on each of the three sides with your file, followed by refinement with a fine stone, transforms that rounded tip into a needle point that sticks immediately when tested against your fingertip.
Throughout the session, you check your hook point after every retrieve. The second time you reel in, you notice the point has dulled slightly after dragging across the gravel bottom. A quick touch-up with the stone—just a few passes—restores that sticky sharpness. By session’s end, you’ve landed three carp including a 22-pound mirror. Your buddy fishing the next peg, casting hooks straight from the packet without sharpening, lost two fish at the net. The difference? Penetration.
Do This / Avoid This
Do This:
- Check your hook point before every single cast using either the fingernail or finger-flesh test
- Use light, controlled strokes and inspect frequently during sharpening
- Work only from barb toward point—never file backward toward the barb
- Apply a thin layer of Vaseline, coconut oil, or anti-corrosion treatment to sharpened hooks before casting, as removing the coating accelerates rust
- Store sharpened hooks individually in foam-lined boxes or with filter tips protecting the points to prevent damage
- Replace hooks with severely bent or folded points rather than attempting resurrection
- Practice on spare hooks before working on your tied rigs
Avoid This:
- Never file or stone the inside curve of the hook point—this weakens the hook and ruins the geometry
- Don’t use excessive pressure or speed, which generates heat and can destroy the hook’s temper
- Avoid continuing to fish with a hook that fails the sharpness test—retie or resharpen immediately
- Don’t store sharpened hooks loose together in packets where they can damage each other’s points
- Never assume a hook is sharp enough straight from the packet on pressured waters
- Avoid over-sharpening to the point where the tip becomes so fine it bends over at the slightest contact
File vs. Stone: Which Should You Use?
Both tools serve different purposes in the sharpening process. Files cut aggressively and work well for establishing initial shape or recovering seriously dulled hooks. Stones refine and polish, creating that ultra-fine finishing touch.
For most carp fishing applications, using both in sequence produces optimal results. Start with a fine file to shape the point, then finish with progressively finer stones. Some anglers use multiple stone grades—rougher for initial honing, finer for the finishing passes.
However, if you’re working with smaller hooks or very fine-wire patterns, consider using stones exclusively. They remove less material per stroke, reducing the risk of over-sharpening or weakening the point. Pattern choice also matters: beaked-point hooks generally sharpen better than straight-point designs, and some coatings respond more readily to sharpening than others.
Maintaining Sharp Hooks During Sessions
Sharpening once isn’t enough—hook points degrade throughout a session. Dragging across gravel, silt, and debris dulls points surprisingly quickly. Landing a fish puts enormous strain on hook points. Even retrieving through weed can cause microscopic damage that reduces penetration.
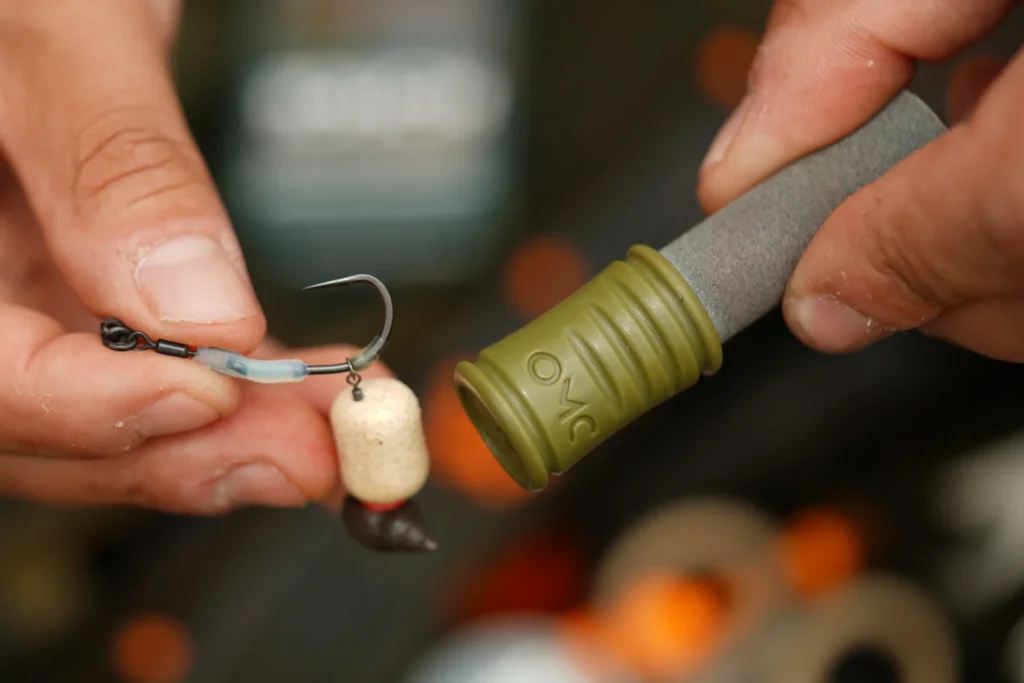
Develop the habit of testing every hook after every retrieve. Most experienced carp anglers carry a small stone or compact sharpening tool specifically for bankside touch-ups. When you detect any dulling, take thirty seconds to restore the edge before recasting.
Rust presents another concern for sharpened hooks. Removing the factory coating exposes bare metal that corrodes rapidly—sometimes within hours. Protective treatments prevent this degradation and can actually attract fish when formulated with added attractants. At minimum, keep Vaseline or coconut oil in your tackle box for treating freshly sharpened points.
Frequently Asked Questions
How do I know when my hook is sharp enough?
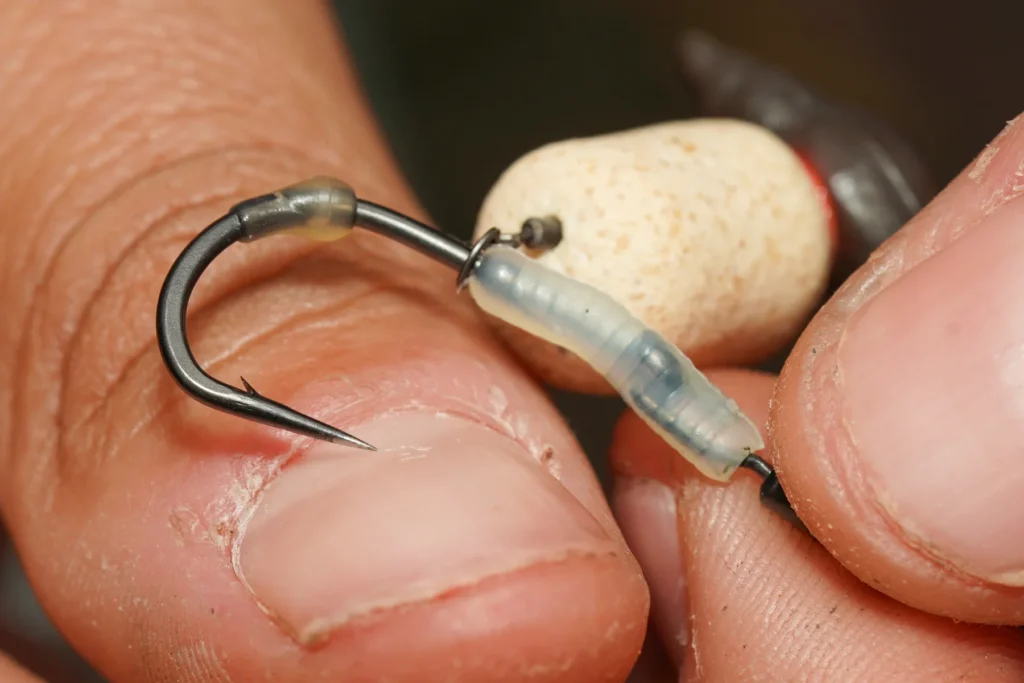
The most reliable test uses the skin on your fingertip rather than your fingernail. Press the point gently against your finger and let go—a properly sharpened hook should stick in place and support its own weight without falling. The fingernail test works too: a sharp hook should catch and grip the nail surface rather than sliding across it. Some experienced anglers argue that fingertip testing better replicates the texture of a carp’s mouth, since carp don’t have mouths as hard as our fingernails.
Can I re-sharpen a hook after catching a fish?
Absolutely, though assessment is crucial. Inspect the hook carefully under magnification after each fish. If the point shows minor dulling but the basic geometry remains intact, a few passes with your finishing stone should restore sharpness. However, if the point has bent over or deformed significantly, discard the hook and retie. Experienced anglers report roughly half their hooks can be successfully resharpened after landing a fish, while the other half require replacement.
Are some hooks better for sharpening than others?
Yes. Beaked-point hooks generally sharpen more effectively than straight-point designs because there’s more metal to work with at the tip. Certain popular carp hook patterns have reputations for sharpening beautifully, while hooks with particularly hard outer coatings require more strokes and patience. Experiment with different patterns to find what works best for your technique and preferences.
Should I sharpen brand-new hooks straight from the packet?
On pressured waters, absolutely. Factory sharpening produces consistent, reasonably sharp points suitable for general fishing, but it rarely matches what hand-sharpening achieves. The edge you can create manually exceeds factory specifications and can make the difference on difficult venues where carp expertly eject substandard presentations. For easier waters with hungry, unpressured fish, factory points may suffice—but why take the chance?
How do I prevent my sharpened hooks from rusting?
Once you’ve filed or stoned a hook, you’ve removed its protective coating and exposed bare metal. Apply a thin layer of Vaseline, coconut oil, or a purpose-made anti-corrosion treatment to the point before casting. Some products combine corrosion protection with fish-attracting additives. Without protection, a sharpened hook can develop rust within hours of hitting the water—and a rusty hook is a blunt hook.
The Bottom Line
Hook sharpening requires practice, patience, and the right tools, but the payoff in landed fish makes the investment worthwhile. Whether you’re troubleshooting a frustrating run of lost fish, comparing techniques to find what works best for your fishing style, or simply preparing for the season ahead, mastering this fundamental skill separates consistent carp anglers from those who wonder why they’re blanking.
Start practicing on spare hooks before applying your developing technique to tied rigs. Develop the discipline to check every point before every cast. Carry sharpening equipment for bankside touch-ups. Make hook maintenance a non-negotiable part of your fishing routine, and you’ll be rewarded with more positive hook-holds, fewer lost fish at the net, and ultimately, more carp on the bank.